
Most beginner kits fail in the same place. Not at the code, and not at the wiring diagram. They fail at the first row of through-hole pins, where a joint that looks fine from the top is a dull, grainy lump underneath, and the board that was supposed to blink just sits there doing nothing while you check the same wire four times.
I spent 34 years chasing intermittent connections on aircraft systems, and I can tell you the failure is almost never the part. It is heat in the wrong place for the wrong amount of time. I bought the YIHUA 926 III in March 2024 for my own bench in the garage in Everett, and it is the reason my joints now land on the first try instead of the third. It is a 60 watt station with an LED display, a temperature range from 90 degrees Celsius up to 896 degrees Fahrenheit, and a sleep mode you can set to 5, 10, or 30 minutes. What follows is the sequence I run, in order, every time a kit asks for a header, a connector, or a row of resistors.
A cold joint is usually the temperature you guessed at
The YIHUA 926 III puts the tip temperature on an LED display and holds it there while you work, so you can stop fiddling with a dial and start watching the solder flow. It ships with six extra tips, two helping hands, ESD safe tweezers, a desoldering pump, and a roll of lead-free solder, which covers most of what a first bench actually needs.
Amazon Check Today's Price on Amazon →Step 1: Set the station up so you never reach across a hot iron
The YIHUA 926 III is small, 7.3 inches deep, 4.5 inches wide and 2.8 inches tall, and it weighs 1.8 pounds, so it does not fight you for bench space. I put mine on the right side of the bench, slightly back from the edge, with the iron holder in front of it and nothing behind it that I need to reach. That last part matters more than it sounds. The metallic mesh at the rear of the station covers the back of the iron cradle, and on my bench it is the thing that keeps a sleeve or a dangling cable from finding a hot tip by accident.
Pick a tip before you power anything up. The kit ships with six extra tips, and for through-hole work I leave a small chisel in the iron most of the time and keep a fine conical one for tight pin spacing. Push the tip into the heating element until it seats, then snug the retaining nut with the mini wrench that comes in the box. If the tip is loose, it rattles, and the temperature reading stops meaning much because the sensor is no longer touching what you are actually heating.
Set out the helping hands. The kit includes two, and I use them more than I expected: one to hold a header strip square while I solder the first and last pin, and both of them when I am splicing two wires and need a third and fourth hand. I also keep a folded damp paper towel in a shallow dish next to the station for wiping the tip. Neither a sponge nor a brass pad is in the box, so that is a two minute addition you make yourself.
Step 2: Set the temperature, then let the display earn its keep
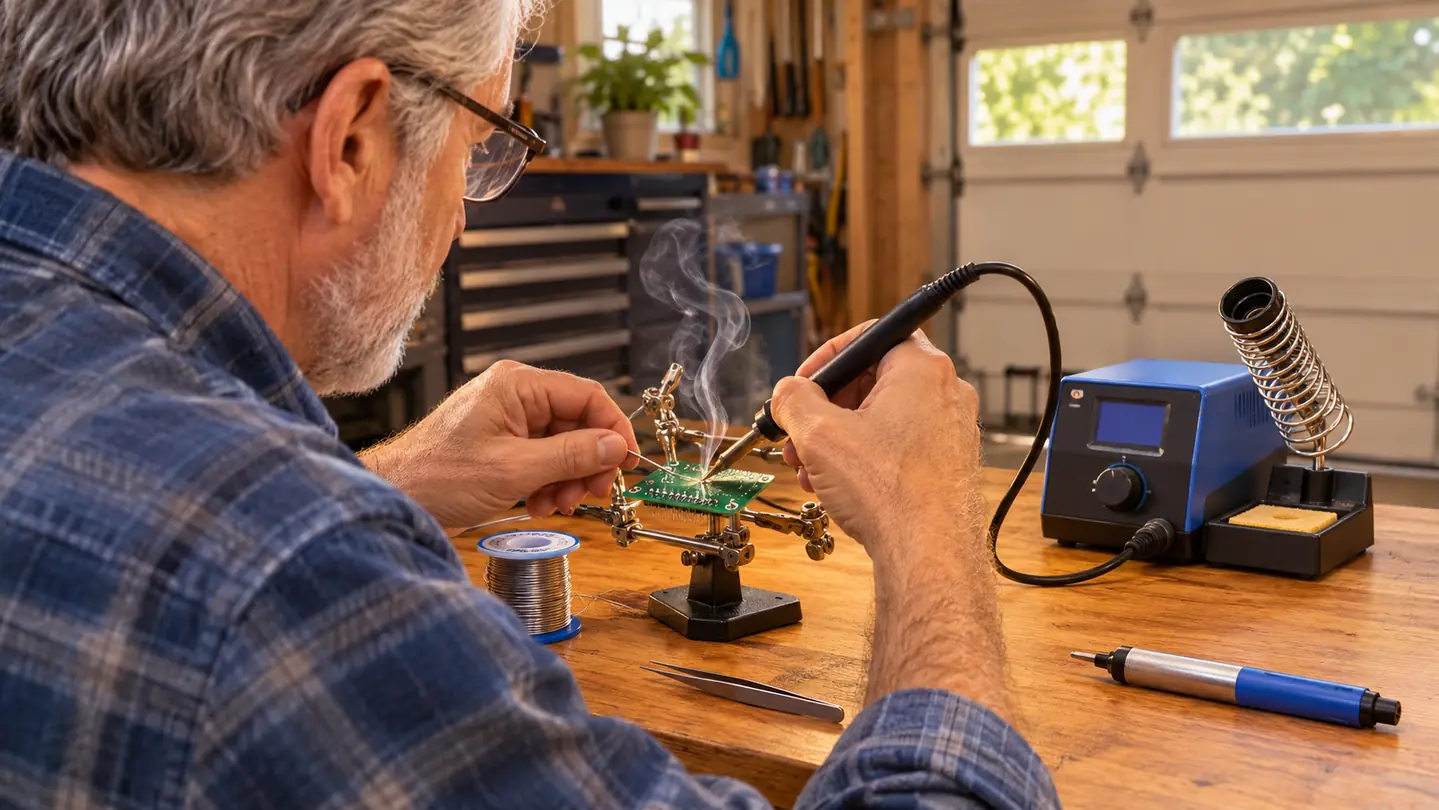
Plug the YIHUA into a 110 volt outlet, switch it on, and watch the LED display. For leaded solder on through-hole parts I run mine between 650 and 700 degrees Fahrenheit, and I very rarely move it. The roll of lead-free solder in the kit wants a bit more heat than that, and the station's upper limit of 896 degrees Fahrenheit leaves plenty of room. The display converts between Celsius and Fahrenheit, so you can work in whichever one your brain already thinks in.
The reason I care about a number on a display is not the number. It is that I can come back to the bench after a week away and set the same temperature without guessing. The cheap 30 watt pencil iron I used before this had no dial at all, just a plug, so every joint was a negotiation with a tip of unknown heat. If the reading ever drifts, the YIHUA supports calibration and there is a documented procedure for it. Mine has not needed it in two and a half years.
While the iron heats, set the sleep mode. It goes to 5, 10, or 30 minutes, and I keep mine on 10. That way, when I stop to reread a step in the instructions or dig a resistor out of the drawer cabinet, the iron is not sitting at full heat cooking its own tip for nothing. Tin the tip the moment it is hot enough to melt solder: a thin, bright film of solder across the working face. A tip that goes in dry and gets hot is a tip that oxidizes, and an oxidized tip stops transferring heat.
An oxidized tip stops transferring heat, and a joint that never got hot enough is the one you will be chasing with a meter an hour later.
Step 3: Prep the part and the pad before the iron comes near either
Bend the leads to match the hole spacing, push the part down until it sits flat on the board, then bend the leads outward on the solder side at maybe 30 to 45 degrees. That bend holds the part in place while you work, and it keeps it from dropping out when you turn the board over. Do not fold the leads flat against the pad. A lead folded flat acts like a heat sink and makes a proper joint much harder to reach.
Clean is not optional. Finger grease and old oxidation both fight solder, and flux is what wins that fight. I keep a small flux pen on the bench and touch it to the pad and the lead before the iron comes in. It takes a second, and it is the difference between solder that flows into a smooth cone and solder that balls up and sits there like a bead of water on a waxed car.
Headers deserve their own minute of setup. Push the strip into the board, then use a helping hand to hold it square while you tack the two end pins. Check that it is straight before you do the middle pins, because once twelve pins are soldered, straightening it means removing all twelve. Same idea for anything with more than four legs: get the corners right first, then fill in.
One more thing about pads. Some of them are tied to a large copper area, usually ground, and those pull heat away from the joint faster than a normal pad does. If a joint refuses to flow, it is often one of these. Give it an extra second, switch to a slightly bigger tip, and let the pad come up to temperature instead of jabbing at it and getting nowhere.
Step 4: Make the joint in about three seconds
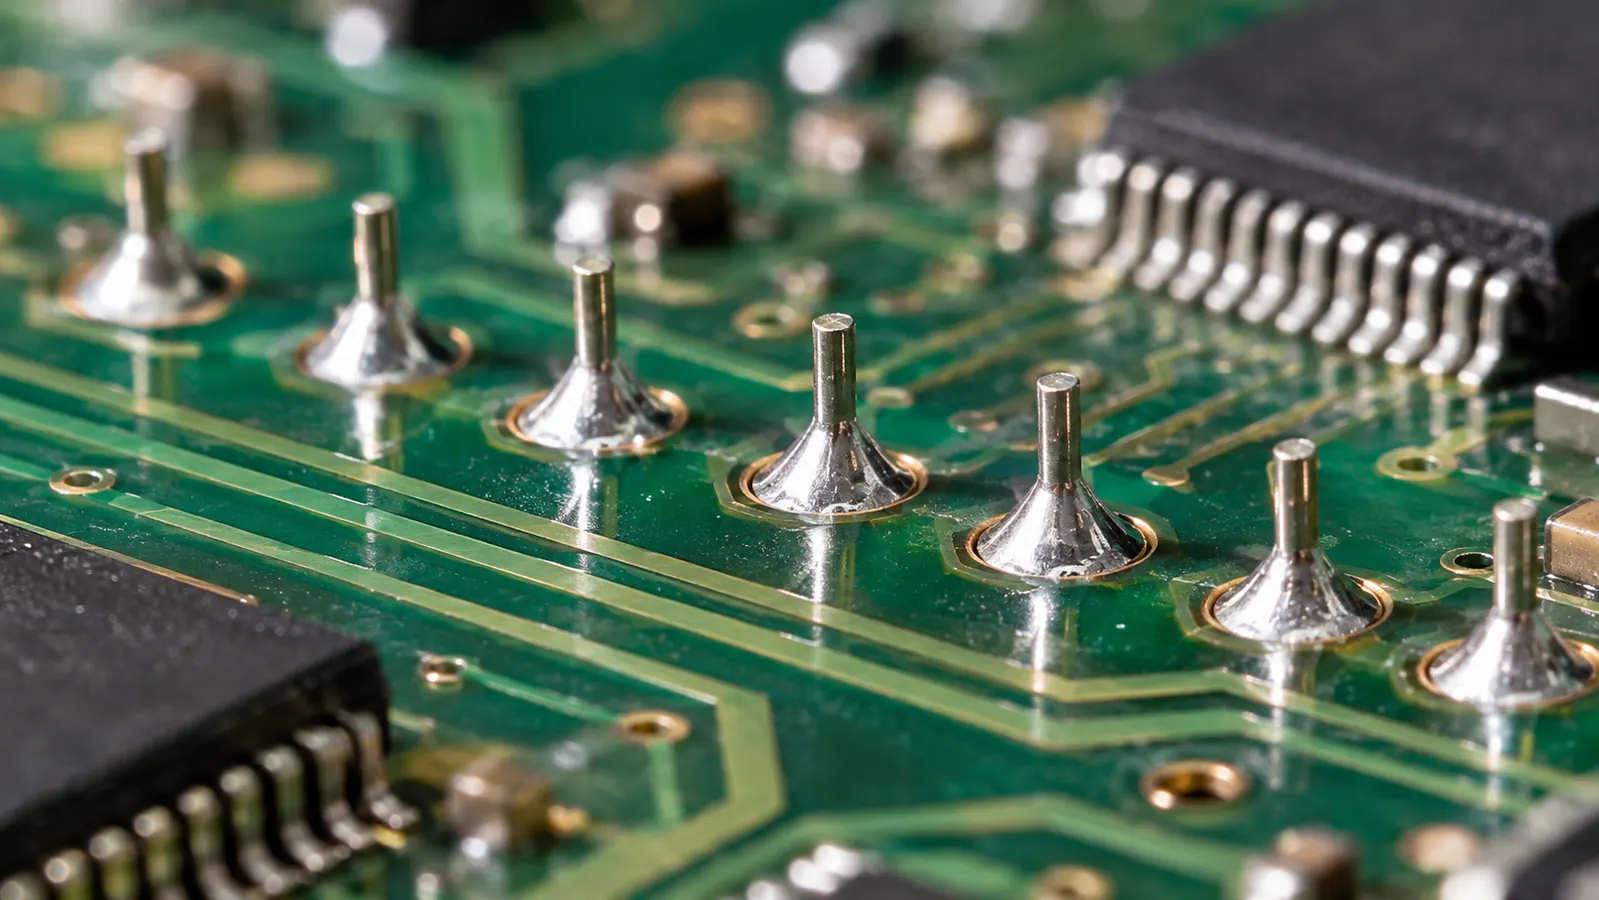
Touch the tip to the pad and the lead at the same time, right where they meet. Count one, two. Then feed solder into the joint itself, not into the iron. Solder follows heat, so if you feed it into the tip it will sit on the tip and never reach the pad. It should flow out and around the lead and form a small, shiny cone that covers the pad.
Then pull the solder away, and pull the iron away half a second later. The whole thing should take two to three seconds on a normal through-hole pad. If you are standing there for six or eight seconds waiting for something to happen, stop and figure out why: the tip is too cold, the tip is too small for the pad, the tip is dirty, or the pad is oxidized. More solder never fixes any of those. It just hides them.
Tip shape does more for you than another 50 degrees of heat. A chisel tip gives you a flat face that contacts the pad and the lead across a wider area, which is what you want on a row of header pins. A fine conical tip is for reaching a single leg in a tight space, and it is the wrong choice for a fat pad because it cannot deliver enough heat fast enough. When a joint fights you, try the bigger tip before you try the hotter setting.
Do not move the part while the joint cools. A joint that gets disturbed while it is solidifying goes grainy and dull, and that is a cold joint whether or not the solder ever got hot enough. I let each joint sit for a couple of seconds before I touch the board, and I work in a rhythm so I am never managing two at once.
Step 5: Inspect it, trim it, and prove it with a meter
Trim the leads above the joint with flush cutters, then look at every joint under a magnifier lamp before you power anything up. A good joint is smooth, shiny and slightly concave, like a tiny volcano. A dull, grainy, domed lump is a cold joint. A ball that swallows the lead is too much solder. A pitted crater usually means the part moved, or the iron sat there too long and boiled off the flux.
Then prove it electrically. I set the bench multimeter to continuity and check from the component lead to the next pad on the same net, then check across adjacent pins for a bridge. On a header, a bridge between two neighboring pins takes ten seconds to find with a meter and an hour to find by staring at the board and wondering why the display is blank.
When something is wrong, the YIHUA kit has the tools for it. The desoldering pump is a spring loaded solder sucker, and it works well on a joint you can reheat and empty in one motion. The ESD safe tweezers are for pulling a leg out of a hole while the solder is still liquid, or for holding a small part steady. Neither one is a substitute for getting the joint right the first time, but both will save a board you have already spent an evening on.
What Else Helps
A few things around the station make more difference than any single tool in the box. Ventilation comes first. I solder near the open garage door with a small fan pulling air away from me, because flux smoke is not something to breathe all evening. Second, keep a scrap board to practice on. Before you touch the kit you actually care about, make twenty joints on something dead, then cut them apart and look at the cross section. That is the cheapest lesson in electronics and it costs you nothing but a half hour.
Third, keep the tips clean and keep the spares. The YIHUA ships with six extra tips, which means you can experiment with a chisel for pads and a conical for pins without worrying about ruining your only one. A worn tip is a two minute swap, not a reason to buy a new station. Fourth, if you are an adult working in a ventilated space and you understand the handling, practice with leaded solder before you commit to the lead-free roll. It flows at a lower temperature and it is more forgiving while you build the muscle memory. Then go back to the lead-free roll that came with the station for anything you plan to keep.
Fifth, get the light right. My magnifier lamp sits about a foot above the board and I would rather solder with that light and a dull tip than with a perfect tip in a dim garage. You cannot inspect what you cannot see, and most cold joints are visible long before they are measurable. Sixth, check your work with the meter every single time, even when the board works. The joint that passes today and fails in three weeks is the one that taught me to stop trusting my eyes alone.
Last thing. Write your working temperature on a sticky note and tape it to the station. Mine says 675. When you come back to the bench in a month, you will not have to rediscover what worked.
The iron you can read is the one you can trust
Sixty watts, an LED display, six extra tips, and the small tools that get a first board finished. If your current iron has no dial and no number on it, this YIHUA station is the upgrade that makes practice worth doing.
Amazon Check Today's Price on Amazon →