
The first thing I did with the ELEGOO UNO R3 Project Super Starter Kit was plug a light-emitting diode straight into 5 volts with no resistor in front of it. It made a small pop, went dark, and that was the end of that LED. I had spent thirty-four years in aircraft avionics before I retired in November 2023, and I still did the one thing every beginner guide warns you about in its opening pages. It cost me a single LED out of a kit that came with plenty more.
I bought this kit in April 2024. It was the first microcontroller I had ever owned. For three and a half decades my job was troubleshooting other people's wiring harnesses and circuit boards in a hangar, work where the hardware already existed and the question was always what broke. Building something up from a blank breadboard is a different muscle entirely. I worked through the ELEGOO PDF tutorial in order over about four months of evenings at my bench in the garage, and what follows is what the kit taught me, where it taught it well, and where a beginner is left to figure it out alone.
The Quick Verdict
A genuinely well-organized beginner kit with 22-plus guided lessons and enough parts to keep a curious adult busy for months of evenings. The instructions are clear but they explain the what more than the why, which is fine right up until your circuit doesn't work.
Amazon Check Today's Price →The kit I burned an LED on in week one and still recommend
A UNO R3 board, 22-plus guided lessons, an LCD1602 with the header already soldered on, and enough hardware to build well past the tutorial.
Amazon Check Today's Price on Amazon →How I've Used It
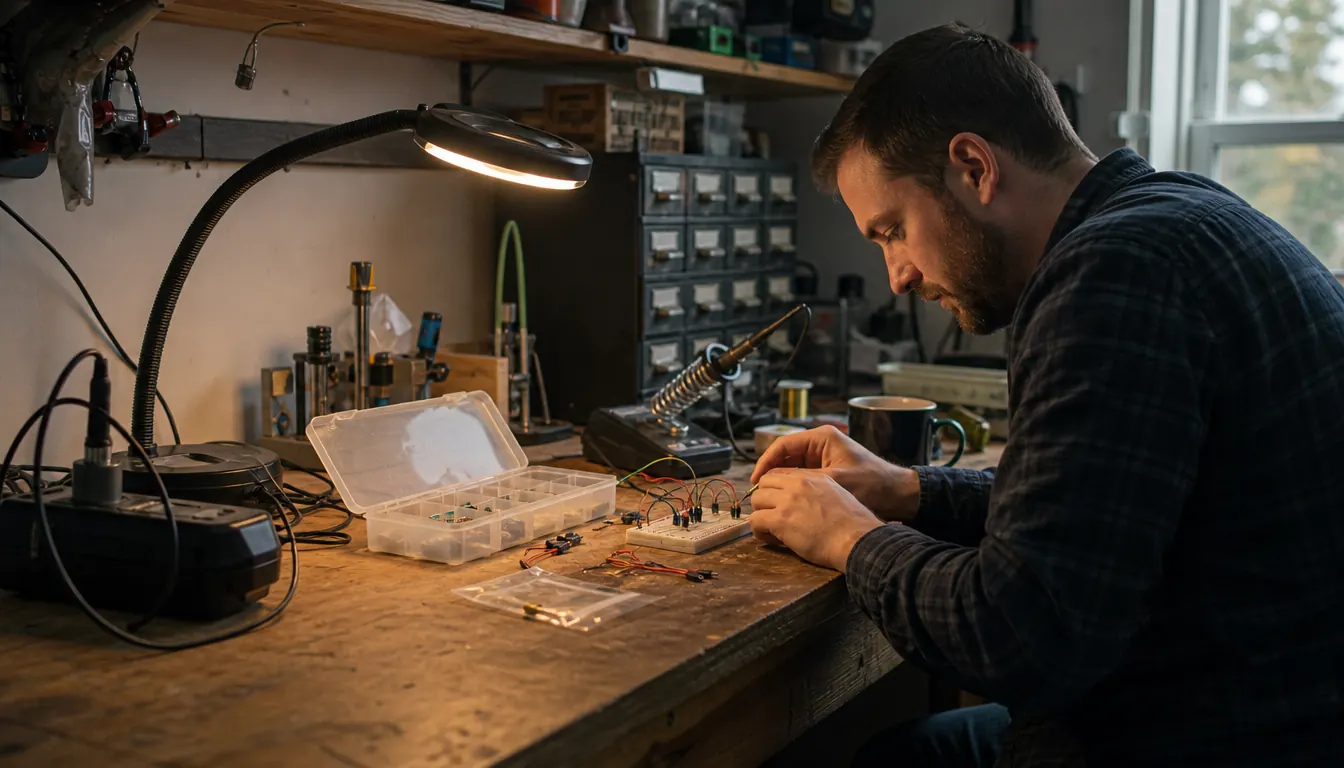
My bench is a six-foot wooden slab along the back wall of a two-car garage in Everett, Washington. Magnifier lamp on a swing arm, soldering station with a temperature dial, parts drawer cabinet on the left. I sat down there on a Tuesday evening in April 2024 with the ELEGOO box open and a Windows laptop next to it, and I did what the tutorial said to do first, which was install the Arduino IDE.
I worked the lessons in order, two or three evenings a week, maybe an hour and a half at a stretch. Some nights I got through three lessons. Some nights I spent the entire hour chasing a jumper wire that was one row off in the breadboard. That is not a flaw in the kit, that is the hobby, and the ELEGOO lessons are laid out in a sequence that assumes you will make exactly those mistakes.
Come August the lessons were done and the parts stayed. The breadboard, the jumper wires, the resistor assortment, the buttons and the sensors all went into my drawers as general stock. Two years and seven months later I still pull from that pile when I need to prototype something on the bench before I commit it to a soldered board. That is the fairest thing I can say about a starter kit: I kept using it after the teaching part was over.
What the 22-Plus Lessons Actually Cover
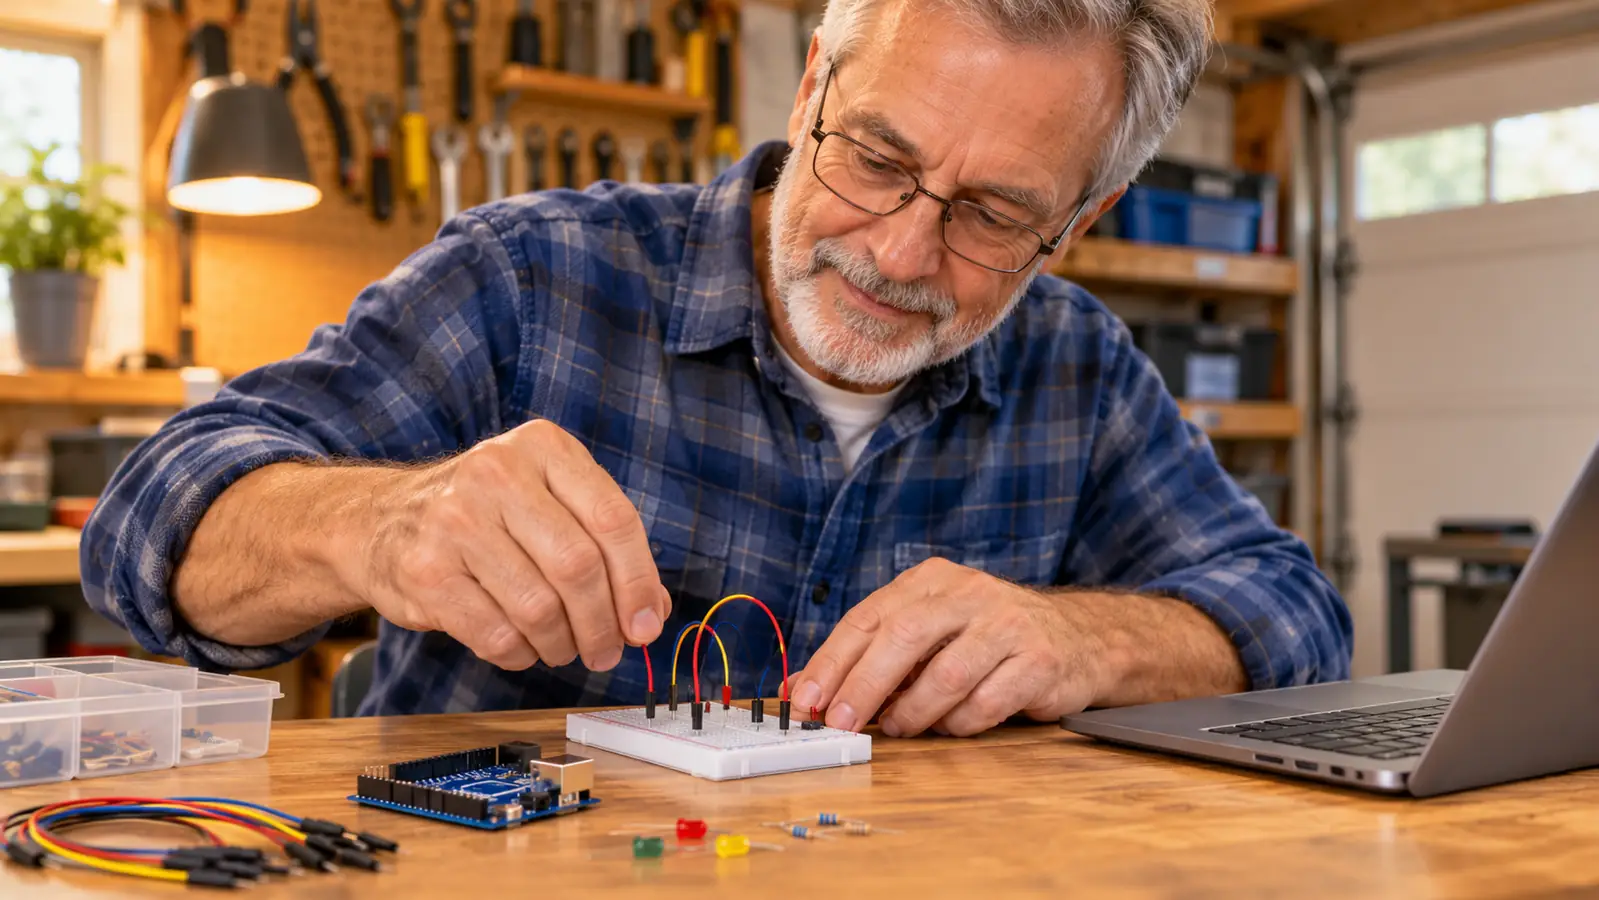
The ELEGOO tutorial walks you from making an LED blink, through reading a thermistor and an ultrasonic distance sensor, to driving a servo and putting text on the LCD1602. The LCD is the one I want to talk about first, because it arrives with the pin header already soldered on. If you have never soldered, a sixteen-pin header on an LCD is a miserable first job and a good way to destroy a part. ELEGOO took that off your plate, and I think it is the single best decision in the whole kit.
The order of the lessons is the other thing they got right. Blinking an LED is trivial and a little boring, but it forces you to learn the IDE, the board selection, the upload button, and the difference between a compile error and an upload error. By the time the lessons ask you to read a sensor and make a decision based on the value, you already trust the toolchain. That is a sequence designed by somebody who has watched beginners quit.
What it does not cover is schematic reading. The lessons show you a wiring diagram and a picture of colored wires going into a breadboard, and you copy it. That works. But two years in, when you want to build something the kit never mentioned, you need to read a schematic symbol for a component you have not used, and nothing in the box teaches that. I already had it from the hangar. A beginner coming in cold will have to go get it elsewhere, and I would rather they know that going in than find out at month three.
Where a Beginner Actually Gets Stuck
The resistors. Every lesson that needs one tells you which value to grab, and the kit labels the bags, so you can follow along fine. But the moment you want to change something, the tutorial stops helping. I watched this play out in my own hands even with thirty-four years behind me: I wanted a dimmer LED than the lesson produced, and the instructions had no guidance on how the resistor value relates to brightness. I knew the answer from work. Somebody who doesn't is going to guess, and guessing at resistor values is how parts get destroyed.
The breadboard power module is the second one. It is convenient, it lets you run the rails without dragging the UNO's own 5-volt pin all over the board, and I used it the whole way through. The tutorial uses it without explaining what it is doing or why you would want one. I figured it out in about a minute because I have seen power distribution a thousand times. My wife Carol, a retired school librarian who asks so what does it do about everything I build, asked me that exact question about the power module and I had to explain it standing at the bench with a meter in my hand. The kit should have done that in one paragraph.
The third place is the code itself. The example sketches work. They are commented. But some of the sensor lessons move faster than the explanation, and you find yourself pasting code you don't understand and watching the serial monitor print numbers. There is a moment in learning where copying becomes a substitute for comprehension, and this kit does not put a guardrail there. It is fixable, it just requires you to slow down and read the comments instead of hitting upload, and I do not think a beginner knows to do that unless somebody tells them.
I burned one LED in May 2024 by wiring it without its resistor. That was my mistake, not the kit's. But the kit never quite taught me why that resistor mattered until I already knew.
What I Liked
- 22-plus lessons that build on each other in a sensible order, so you trust the toolchain before the circuits get complicated
- Parts arrive organized and labeled, which means you are not hunting through a bag of loose resistors on night one
- The LCD1602 ships with its pin header already soldered on, saving a beginner the worst possible first soldering job
- The UNO R3 board and the Arduino IDE work together on a Windows laptop with no driver fuss, and mine still uploads cleanly after two and a half years
- Enough stock hardware that the parts became my permanent breadboard supply long after the lessons ended
Where It Falls Short
- The lesson text tells you what to wire but often skips why that particular component value was chosen
- No resistor reference a true beginner can use on their own, so the first attempt at changing a design stalls
- The breadboard power module is used throughout without ever being explained electrically
- Several sensor lessons outrun their own explanation, which lets you copy working code without understanding it
- Nothing in the box teaches schematic reading, and that is the actual skill underneath every lesson
The Parts, Judged as Parts
I have handled a lot of components, most of them a great deal more expensive than anything in this box. The breadboard is a breadboard. The jumper wires are the stiff kind that hold their shape, which I prefer to the floppy silicone ones because they stay where you put them. The resistor assortment is adequate and covers what the lessons need. The buttons and the potentiometer are nothing special and nothing bad.
The UNO R3 board itself is the piece I have the most direct opinion on. It has been on my bench for two years and seven months and it still uploads cleanly every time, which is more than I can say for some professional gear I have owned. The listing notes 2 KB of SRAM and a 16 MHz processor, and you will feel those limits exactly once: the first time you try to hold a long string in memory and the sketch misbehaves. That is a good lesson to learn on a board like this rather than a more capable one, because the constraint teaches you what memory actually is.
The kit measures 8.3 by 5.5 by 1.97 inches and weighs 1.2 pounds, so it stores in a drawer or on a shelf without needing a dedicated shelf of its own. Mine did not come with a case worth mentioning, and I moved the parts into my drawer cabinet anyway, which I would have done regardless of what it shipped in. The manufacturer lists a one-year warranty and I have never had a reason to test it.

The Sensor Lessons, and What They're Worth
Reading temperature and distance with the included sensors is where the kit stops being a toy and starts being a lesson in how the physical world becomes a number. That is genuinely the most valuable idea in the whole box, and I say that as somebody who spent a career turning physical aircraft conditions into readings a cockpit could display. The principle is the same at any scale.
The execution is decent but uneven. The distance lesson worked on the first try and produced readings I could sanity-check against a ruler. The temperature lesson worked but drifted enough that I had to squint at it, and the tutorial doesn't discuss calibration or why a sensor reading is only ever an approximation. Again, a paragraph of explanation would have turned a demo into a lesson.
The servo lesson is the crowd-pleaser, and it is the one that finally made the whole kit click for me. You type an angle, the horn moves to that angle, and suddenly you understand how a written instruction becomes physical motion. Everything after that, including the robot car I built the following February, sits downstream of that one moment.
Two years later, this is still my bench's default parts drawer
The lessons take about four months of evenings. The parts do not leave when the lessons do. Mine are still in the drawer cabinet, and I still build from them.
Amazon See the Full Kit on Amazon →Who This Is For
An adult who wants to understand what a microcontroller does and is willing to sit down two or three evenings a week for a few months. Retired people with time and patience will get the most out of it. So will anybody who has a project in mind and no idea where to start, because the lessons hand you the vocabulary to search for the rest of what you need.
It is also a reasonable pick if you have some technical background but no hobby electronics, which was my case. Nothing in the kit assumed I was a beginner at reading a wiring diagram, but it also never assumed I had done this specific thing before, and it did not talk down to me. There is a difference between simple and condescending, and ELEGOO stayed on the right side of it.
Who Should Skip It
If you already own a microcontroller, a breadboard and a pile of jumper wires, this mostly duplicates what you have. Buy the sensors you need individually and skip the box. If you want to build one specific finished thing, a robot or a weather station or a game console, buy that kit instead, because this one teaches in a spiral and will take you the long way around.
And if you are the kind of person who wants an explanation of every line of code before moving on, you will find this tutorial thin in places. It is a starting point that gets you building fast and leaves the theory to you. That trade is worth it in my opinion, but it is a trade, and you should know it is being made before you open the box.
For the record: I never sold anything I built, never taught a class, never earned a dollar from this kit. I bought it myself, new, from Amazon in April 2024, and I have returned nothing. What I got out of it was four months of evenings that ended with something blinking on the bench, and then a drawer full of parts I still reach into. For an adult picking up a hobby with an evening and a box of parts, that was a fair deal.
The starter kit that turned into my parts supply
If you want to learn what a microcontroller actually does, this is a patient place to start. Complete enough to finish, and honest enough to leave the theory to you.
Amazon Check Today's Price on Amazon →