
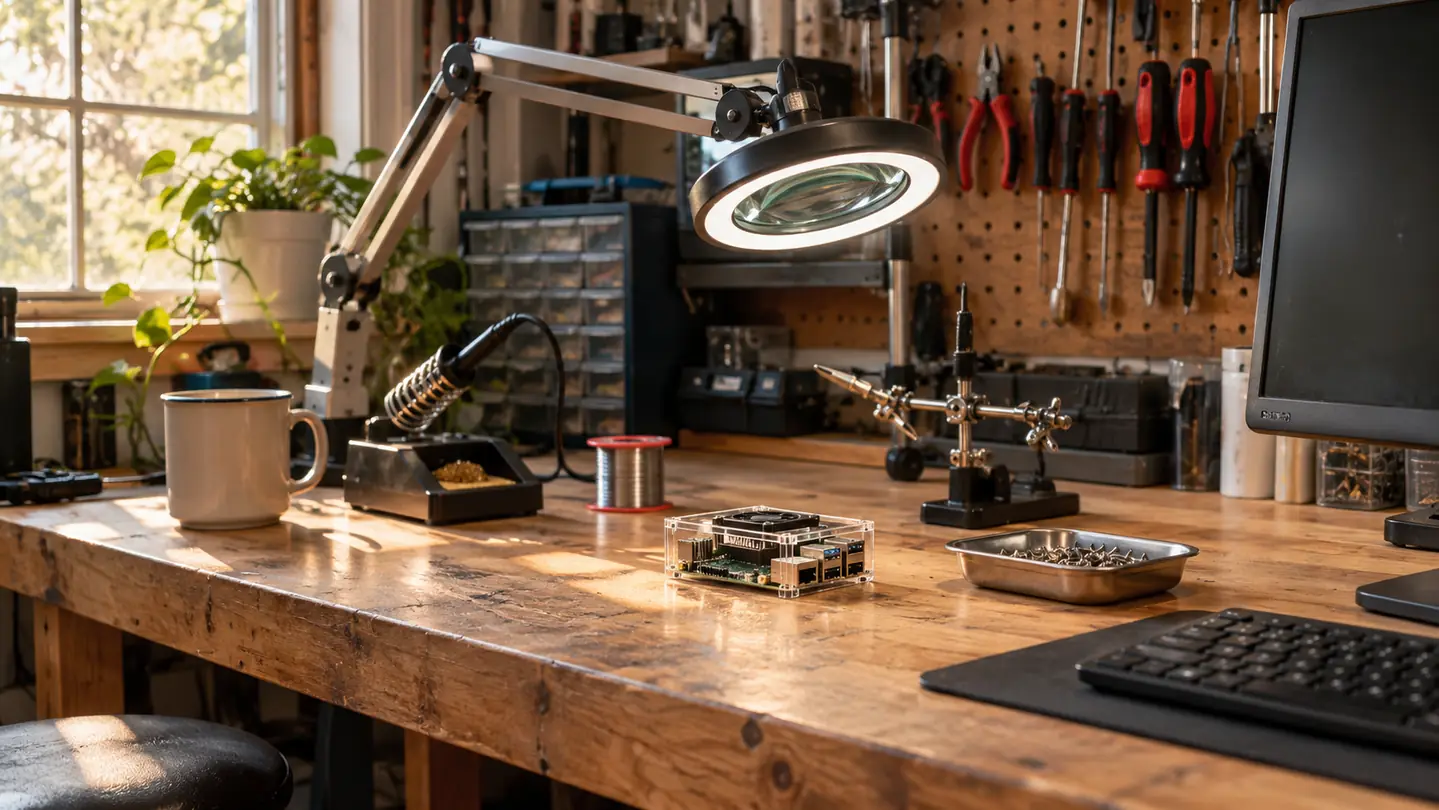
You open the box and the first surprise is how small the computer is. The second surprise is that everything else inside is smaller still: a fan the width of two fingers, a bag of thin aluminum squares, and a memory card you could lose under a fingernail. None of it looks like a desktop. All of it becomes one in about an hour.
That is the CanaKit Raspberry Pi 4 4GB Starter PRO Kit, and it is the kit I point people at when they ask what they should buy first. Not because the parts are exotic, but because they match. The power supply is rated for the board. The card is already written. The case has a place for the fan, and the fan has a place for the board. I bought mine in October 2024 and it has lived on the right end of my bench ever since, driving a small spare monitor, a USB keyboard, and a temperature logger I wrote for the garage. Setup took one evening, and most of that evening was me being careful rather than me being stuck.
The Step That Stops Most First Builds Is Already Done in This Box
The operating system ships on a 32GB card that is already written, so your setup starts at the case instead of at a download page and a utility you have never used.
Amazon Check Today's Price on Amazon →What Is Actually in the Box
Empty the box onto a bench, not a carpet, and sort it into three piles: the board, the parts that touch the board, and the parts that never do. The whole kit weighs about 1.1 pounds, which tells you most of what arrives is cardboard and air.
The board is a Raspberry Pi 4 Model B with 4GB of RAM and a 1.5GHz 64-bit quad-core processor. Around it you get a 32GB EVO+ microSD card already loaded with an operating system, a USB microSD card reader, a case with an integrated fan mount, a low noise bearing system fan, a 3.5A USB-C power supply with a noise filter, a set of heat sinks, a 6 foot display cable, and a USB-C PiSwitch that puts an on/off switch inline with the power cable. That switch sounds like a minor convenience. On a crowded bench it is the difference between reaching for a switch and fishing behind a monitor for a plug.
Two of those parts are the reason a beginner should start here rather than with a bare board and a shopping list. The written card and the correct power supply are the two places where first builds go wrong, and both are already solved before you cut the tape. The third reason is the case. A board that lives in a bare pile on the bench is a board that gets bumped, and the CanaKit case gives every port a hole to sit in and the fan a mount that does not involve tape.
Step 1: Lay Every Part Out and Leave the Card Alone
The microSD card in the kit already has the operating system written to it. Do not format it, do not wipe it to make it tidy, and do not drop it into the reader just to see what is on it. Set it on the bench and leave it alone until the case is closed. That one fact removes the step that stops most first builds, which is finding the right image, writing it with the right utility, and hoping the card you bought is genuine.
Sort the small hardware into a shallow tray. The case screws are tiny and a garage floor will swallow one permanently. I keep a magnetic parts dish on the bench for exactly this and I have never regretted it. Before you pick up the board, touch something metal, the frame of the magnifier lamp is fine, and handle the board by its edges. A Pi is not fragile compared to the avionics I used to work on, but the pins along the edge bend if you slide the board across a bench top.
Lay the case halves out with the openings facing up so you can see which cutout lines up with which port. Two minutes of looking now saves ten minutes of prying later, and the prying is where people crack a plastic tab and finish the job with tape. Count the screws while they are still in the tray. If the tray comes up one short before you start, you know it is your floor and not your assembly.
Step 2: Put the Heat Sinks On Before the Board Goes Near the Case
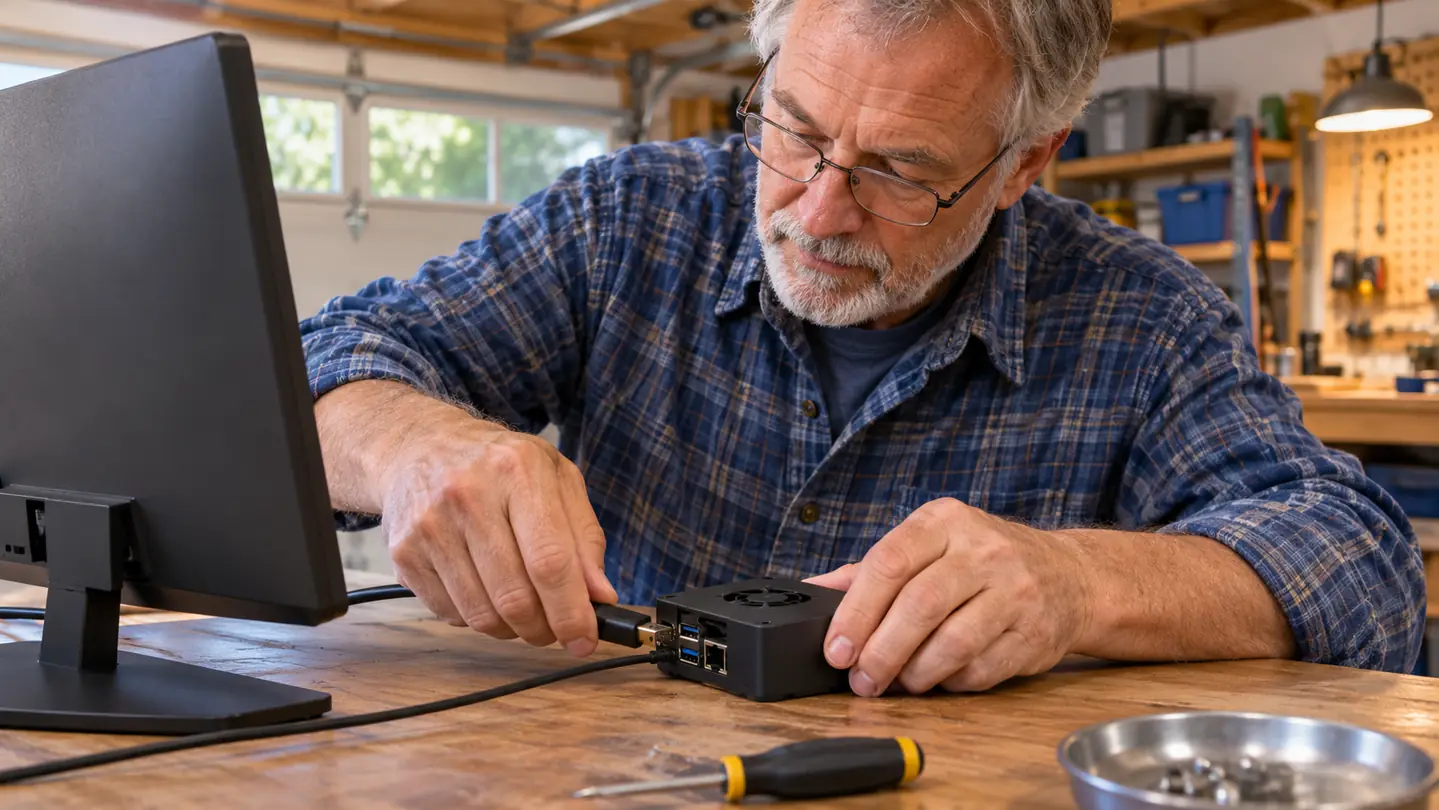
The set of heat sinks goes on before the board goes anywhere near the case. Once the board is seated, the flat chips sit under the lid and you cannot reach them without taking the whole thing apart again. This is the step people skip and then regret, and it takes about ninety seconds to do properly.
Dry fit each heat sink over its chip before you peel anything. The pad on the bottom is one-time use, so you get one placement per sink. Peel the backing, set it down flat, and press and hold for a few seconds. Do not slide it into position. Sliding pushes the pad off center, and then you are looking at a crooked sink for the life of the kit.
The largest chip on the board is the processor and it gets a sink first. The rest of the set covers the flat components that warm up under load. If you are not sure which is which, hold the board under the magnifier lamp and match sink sizes to chip sizes, largest to largest. A heat sink that overhangs onto the small surface components beside a chip is worse than no heat sink at all, because it conducts heat into parts that were never meant to shed it.
Step 3: Seat the Board in the Case and Plug In the Fan
Set the board into the bottom of the case with the ports lined up to their cutouts and press down evenly at the corners until it seats. If it rocks, one corner is not down. Lift it and start again rather than forcing it, because the board flexes and the joints underneath it do not enjoy that at all.
The fan mounts in the opening in the case lid. Its lead goes onto two of the header pins along the edge of the board, and the connector only fits one way, so look at it before you push. Route the wire so the lid closes on plastic and not on the lead. The low noise bearing fan in this kit is quiet enough that I forget it is running, which is more than I can say for the small screamers I worked around for 34 years.
Put the lid on, start the screws by hand, and tighten them in a cross pattern so the lid sits flat instead of pinching on one side. Go around twice, snug and then final, the way you would tighten anything with more than two fasteners. Then plug the PiSwitch inline between the power supply and the board. I did not expect to care about a power switch and I use it every single day, because reaching behind a monitor to unplug a USB-C connector gets old by the second week.
Step 4: Card, Display Cable, Keyboard, Then Power
Slide the microSD card into its slot with the contacts facing the board and push until it seats. It should sit flush or very close to it. A card that sticks out is not in, and a card that is not in gives you a dark screen and a bad mood.
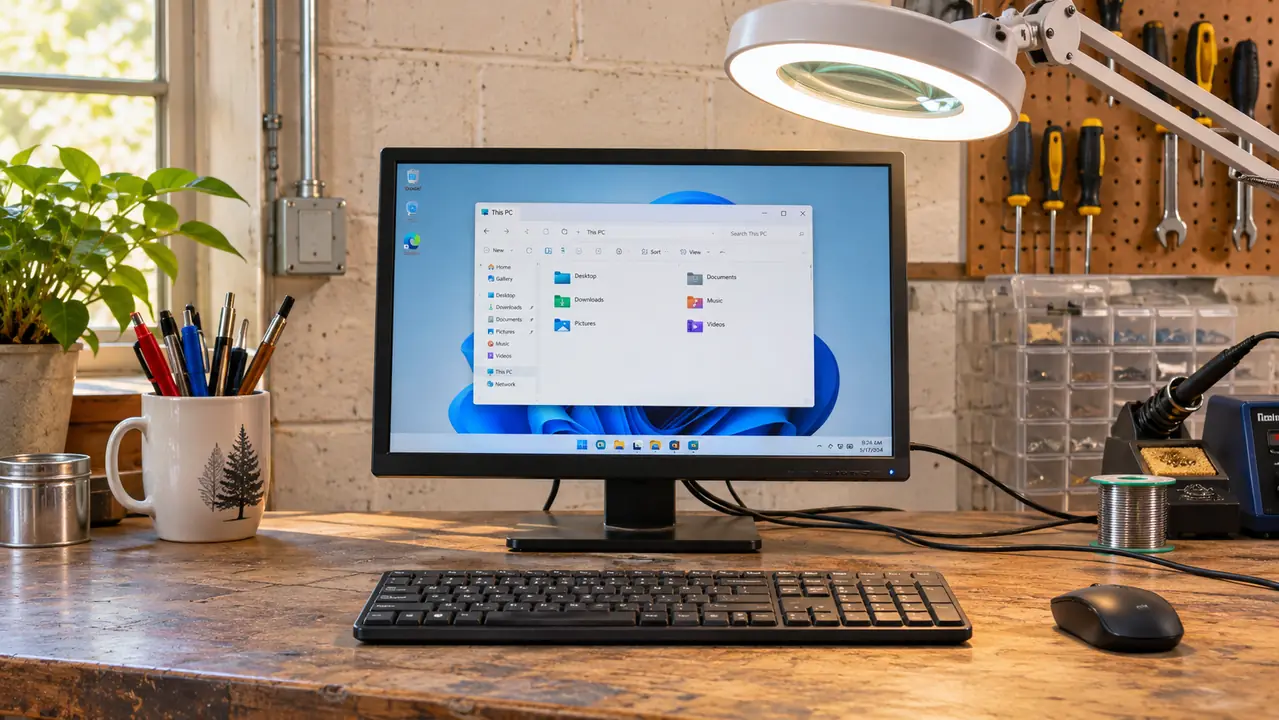
Plug the included display cable into the board's video output and into the monitor's HDMI input. The CanaKit display cable is 6 feet long, which is enough to reach from the back of a bench to a monitor pushed against the garage wall without a strain relief bending at the connector. Plug in the USB keyboard. Check that the PiSwitch sits between the power supply and the board's power input, then switch it on.
First boot is not instant. You get a screen of text, then a desktop, and the gap between the two feels longer than it is. Give it a couple of minutes and keep your hands off the cable, because pulling power in the middle of that first boot is how people end up re-imaging a card on day one. If the monitor stays dark instead, check the monitor's input selection first, then both ends of the display cable, then whether the card is fully seated. Those three checks have covered every dark screen I have had on this bench that was not a dead monitor.
Step 5: Finish the First-Run Setup and Copy the Card While It Works
The first-run setup asks for a country, a language, a username and a password. Write the password in a notebook that stays on the bench. A password you will remember in ten minutes is a password you will not remember in ten months, and a board that has been idle for two months is exactly when you will need it.
After that you have a desktop, a file manager and a terminal. The terminal is where the learning happens. I started with Python because I wanted the board to do a job rather than just exist, and the first program I wrote was a temperature logger for the garage using the pins along the top edge of the board. It was about twenty lines and it has been running ever since. When it stopped reporting one week, the problem was a loose jumper on the breadboard and not the code, which is a lesson worth learning early and cheaply.
Before you start changing things, use the included USB microSD card reader to copy the card on your laptop. When you break the install, and you will, you re-image in twenty minutes instead of starting over from a blank card and a search engine. That reader is the least interesting part of the kit and the piece I have used the most since the first week.
The card in the box was already written. I did not download an image, I did not hunt for a utility, and the first time I saw a Linux desktop was the first time I booted this board.
What Else Helps
A small monitor and a USB keyboard that stay on the bench. This is not a kit you set up once and put in a drawer. Having the display already connected is the difference between starting a project on a Tuesday evening and deciding the cable is not worth the trouble. The 3.5A USB-C supply that comes with the CanaKit kit also has a noise filter built into it, and I leave that supply dedicated to the board rather than borrowing it for anything else, because a board that browns out under load will do strange things that look like software faults.
A multimeter earns its place too, not for the setup but for what comes after it. When a project does not work, the first question is whether the board has power where it should, and the second is whether a connection is actually a connection. I check the supply voltage with the meter before I go looking for a mistake in code, and it saves me an hour more often than not.
A magnifier lamp and a shallow tray are small things that pay for themselves. The lamp matters more than people expect, because the labels on header pins are tiny and reading them wrong is the most common way a beginner spends an evening chasing a problem that is really a misplaced wire. I learned that one the hard way in May 2024 with an LED and a missing resistor, and the LED was the only thing that died.
And a bench you can leave the work on overnight. Setup is one evening, but the first week of questions goes a lot easier when the board is still sitting where you left it with everything still plugged in. Carol asked me what it actually does, and the honest answer on day one was not much. By the end of the first month it was logging the garage temperature every ten minutes whether I was out there or not, and that answer satisfied her.
One Evening, One Box, and a Desktop You Can Actually Use
The CanaKit starter kit covers the board, the power supply, the case, the fan, the heat sinks, the display cable and the card. What is left is the order to put them together, and you just read it.
Amazon Check Today's Price on Amazon →