
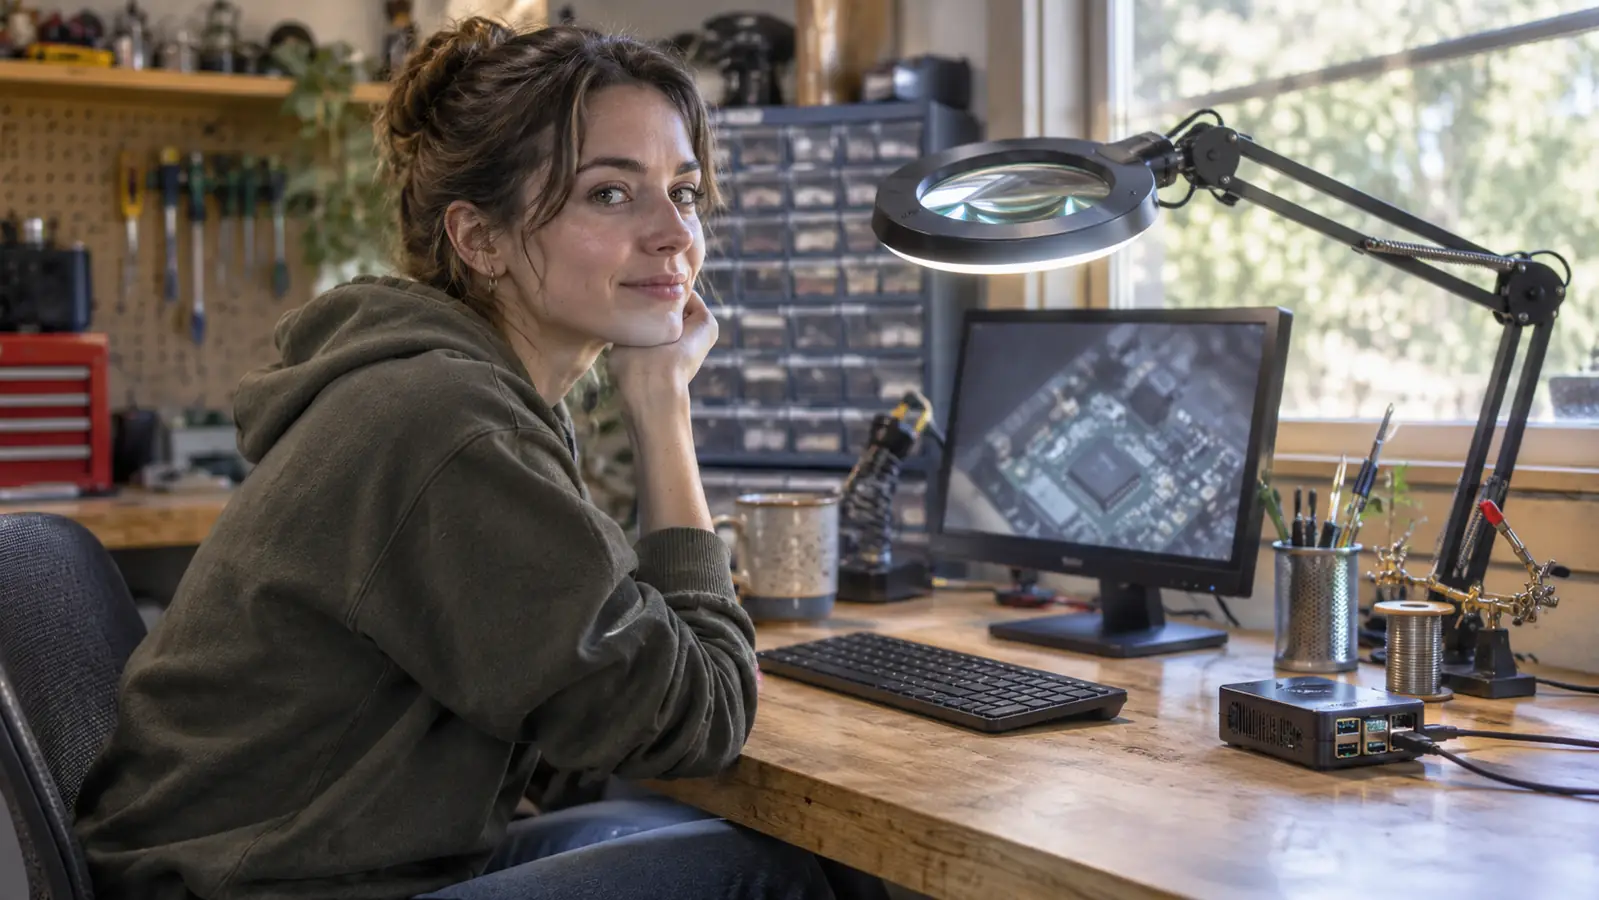
Two years ago the right end of my bench was a stack of unopened boxes and a coffee ring. Now there is a small computer sitting there that has been powered on almost continuously since the second week of October 2024, writing the temperature of my garage to a file every fifteen minutes while I sleep. It took one evening to get running and about four weekends to stop being nervous around it.
I bought the CanaKit Raspberry Pi 4 4GB Starter PRO Kit myself, new, in October 2024. I was eleven months into retirement after thirty-four years of aircraft avionics, and the only board I had touched was the ELEGOO starter kit I had worked through that spring. I had never used a Raspberry Pi or any Linux computer. I wanted one honest answer. Can a kit take an adult from not knowing what a terminal is to writing a program that runs on its own, without a wasted weekend in the middle? Mostly yes. Here is the version with the rough edges left on.
The Quick Verdict
Board, power supply, case, fan, heat sinks and a pre-loaded card in one box, and every one of them is a part you would have bought anyway. The rough edges are in the documentation, not the hardware.
Amazon Check Today's Price →Everything Needed to Boot, Nothing Missing on the Night You Open It
A Raspberry Pi 4 with 4GB of RAM, a 3.5A USB-C power supply with a noise filter, a case with an integrated fan mount, a low noise fan, heat sinks, a pre-loaded 32GB card and an on/off switch. You supply the monitor and the keyboard.
Amazon Check Today's Price on Amazon →How I've Used It
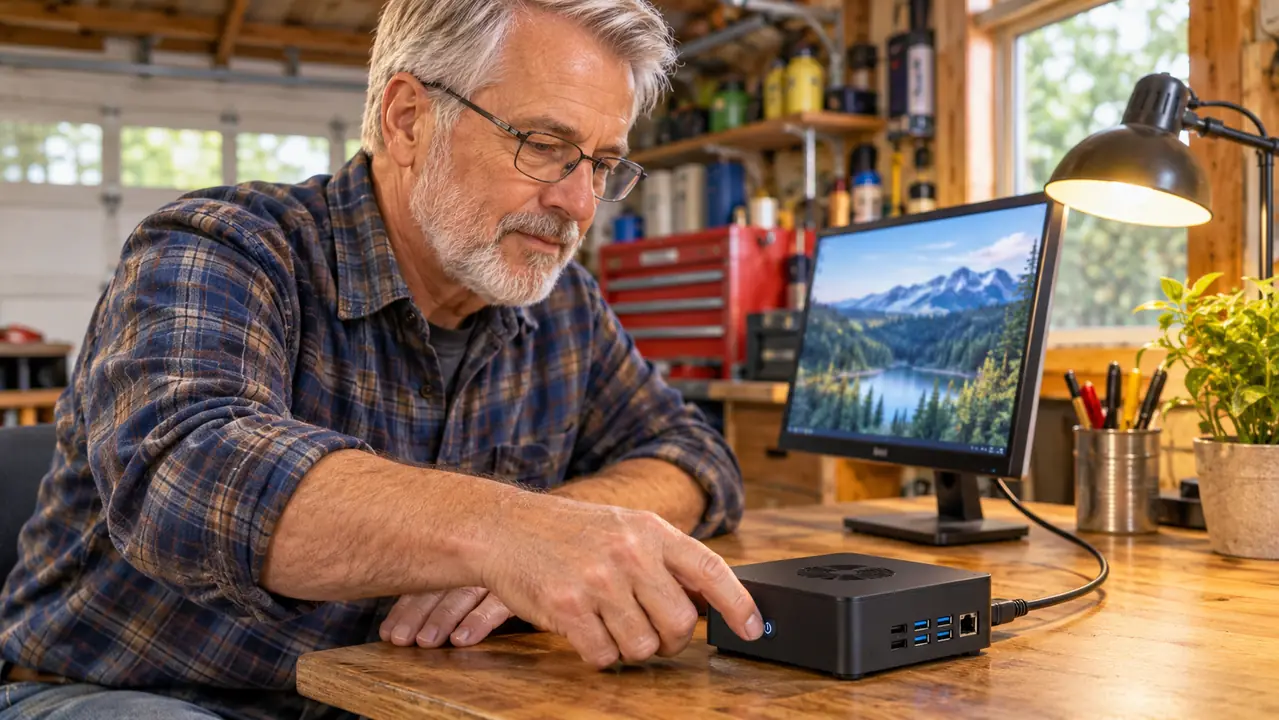
The kit arrived in October 2024 and I had it booted the same evening. That sounds like a small thing. It is not. The card comes pre-loaded, so there is no imaging step, no download, no hunting for which file to write to which device. You set the heat sinks on the board, seat the board in the case, mount the fan on the integrated mount, plug the display cable into the monitor, plug in a USB keyboard, and press the switch. The CanaKit USB-C PiSwitch is the part I did not expect to care about. Two years later it is the part I use every day. I do not have to reach behind the case and pull a connector to shut the machine down.
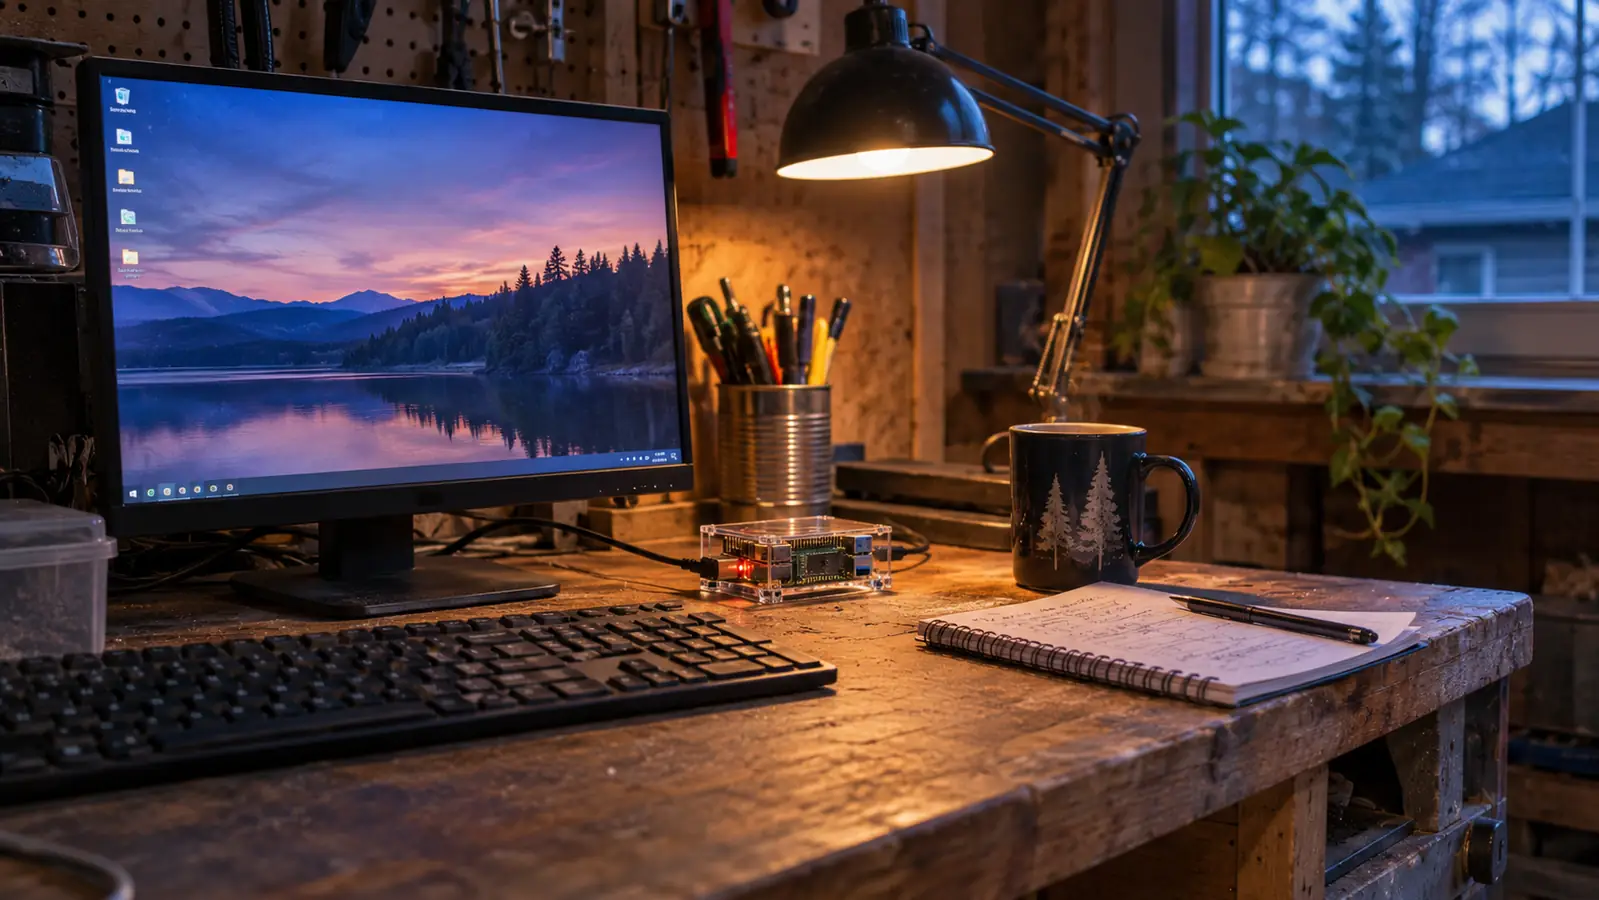
It lives on the right end of the bench, next to the soldering station, on a small spare HDMI monitor with a USB keyboard in front of it. For the first few months I used it for exactly what I bought it for: learning Linux and Python. Directory structure, permissions, how to read an error message instead of fearing it, how a loop works, why a script that runs fine by hand fails when you schedule it. Then I gave it a job. It reads a small temperature sensor I had sitting in the parts drawer, writes a line to a CSV file every fifteen minutes, and keeps going. I wrote that myself. It is not clever code. It runs, it has run for well over a year, and I understand every line of it, which is the whole point.
The USB microSD card reader that comes in the box turned out to matter more than I expected. When I want a backup of the card, or I want to pull a file off without unplugging the monitor, I shut the machine down, take the card out, and read it from the Windows laptop on the bench with the reader. I keep an image backup I have never needed. I keep it anyway, because cards do fail and I would rather be bored than sorry.
What Is Actually in the Box
The list matters, because a starter kit is only worth anything if it is complete. This one includes the Raspberry Pi 4 Model B with 4GB of LPDDR4 RAM and the 1.5GHz 64-bit quad-core Broadcom processor, a pre-loaded 32GB EVO+ microSD card rated Class 10, a USB microSD card reader, a high-gloss case with an integrated fan mount, a low noise bearing system fan, a 3.5A USB-C power supply with a noise filter on a US plug, a set of heat sinks, a 6-foot display cable, and the USB-C PiSwitch. The whole thing weighs about 1.1 pounds before you add a monitor.
The power supply is the piece most people skip when they buy a board on its own, and it is the piece that causes the strangest behavior when it is wrong. A Raspberry Pi 4 under load wants a supply that can actually deliver 3.5 amps over USB-C with something filtering the noise. A phone charger with the right connector is not the same thing, no matter what the label says. Because CanaKit ships the supply in the box, the most common first-week failure mode is simply not available to you.
The card being pre-loaded is the second half of the same idea. Raspbian is already on it, so you are looking at a desktop on the first evening instead of reading about how to write a disk image. The 32GB size is enough for the operating system, my scripts, and a year and a half of temperature readings with room left over.
The case and the cooling are the third. The case has an integrated mount for the fan, the fan is a low noise bearing type, and there is a set of heat sinks in the box. I run the machine continuously and I have never had a heat problem interrupt anything. The fan is audible in a quiet garage if you are standing next to it and inaudible from the door, which is exactly the trade I want.
Two Years of Uptime, Honestly Reported
I have run this machine since October 2024. Nothing has failed. No part arrived damaged, nothing needed a warranty claim, and I have not replaced a single component. The only maintenance it gets is a can of air across the fan every few months, because a garage in Everett is a garage in Everett and dust is what dust does.
That is a boring paragraph and I am aware of it. But boring is the thing you want from a bench computer. The interesting failures are the ones that cost you an evening. I have had exactly one of those in this whole hobby and it was my fault, not the kit's: back in my Arduino days, in May 2024, I wired an LED without its resistor and burned it out. One LED. Nothing else. The Pi has never given me a story like that.
The house lost power twice in two years, both times in winter storms. Both times I walked out to the garage, pressed the switch, and the machine came back up with the card intact and the log file where I left it. That is not a guarantee, it is a report. But it is the report I wanted to read before I bought one, and nobody writes it.
The listing shows 4.8 stars across roughly 6,500 reviews, which is consistent with my experience and not a reason on its own to buy anything. What I can tell you is narrower and more useful: this unit has been powered on for most of two years, in an unheated garage, doing a real job, and it has not once failed to come back up after I shut it down.
What This Kit Actually Teaches
A single-board computer is a better teaching machine than a course and a worse one than a project. The kit gives you the machine. You have to bring the project. That sounds like a dodge, but it is the honest split, and it is why some people get a great deal out of this box and some people put it in a drawer by February.
What it teaches well: the Linux file system, the terminal, how to install software, how to read a permission error, how to write a Python script that does something on a schedule. The GPIO header is exposed and usable, so the parts from a breadboard kit cross over. I had a drawer of resistors, LEDs and sensors from an Arduino starter kit before I bought this, and the Pi gave that drawer a second life.
What it does not teach: soldering, circuit design, or how to chase a hardware fault with a meter. It will not make you an electronics technician. It will make you comfortable in a terminal, which is the gate most people never get through, and the gate is most of the distance.
The honest test of a teaching tool is whether you go back to it in month twenty. I do. I open the terminal on a Saturday morning to check the log, and roughly half the time I end up changing something in the script because I thought of a better way to do it. That is not a curriculum. That is closer to what learning actually feels like once you are past the part where somebody is telling you what to type.
The Parts That Annoy Me
The CanaKit case is high-gloss. In a garage, that means every fingerprint and every speck of dust shows, and I wipe it more than I wipe anything else on the bench. A matte finish would have been the better choice, and I would pay for one if it were sold separately.
You still need a monitor, a keyboard and a mouse. The kit is complete as a computer but not complete as a workstation, and the listing is clear about that. I had a spare HDMI monitor already. If you do not, budget for one, because a headless first setup is a harder week than most beginners are signing up for.
The fan mount makes the case taller than a bare board, and the microSD slot ends up slightly recessed under the edge of the case. Getting a card out with adult fingers is a two-handed operation. It is a small thing that I notice every single time.
The documentation is thinner than the box suggests. There is enough to get you to a desktop, and after that you are reading forums like everyone else. That is normal for this category. But if you want a printed manual with lessons in a fixed order, this is not that product, and no amount of wishing will make it one.
What I Compared It Against
The obvious alternative is a used mini PC, which turns up in listings for less than the kit and arrives with a case, storage, an operating system and a power brick already sorted out. I read those listings carefully and I have never owned one, so treat this as reading and not experience. The mini PC wins on being a finished product and it wins on cost. It loses on the thing I actually wanted: no GPIO header, no exposed pins, nothing to plug a sensor into, and a machine that teaches you Windows rather than Linux.
The other alternative is buying the board alone and sourcing everything else. That is how experienced people do it and it is cheaper on paper. It is also how beginners end up with an underpowered supply and a card that will not boot, debugging two unknowns at once with no way to tell which one is lying to them. The kit exists to remove that second unknown. Two years in, I think that is worth the difference.
What I Liked
- Boots on the first evening: the 32GB card arrives pre-loaded with Raspbian, so there is no imaging step
- The 3.5A USB-C power supply with a noise filter is in the box, which removes the most common cause of strange behavior on a Pi 4
- Case with an integrated fan mount, a low noise fan and a set of heat sinks included, and it has run continuously for most of two years without a heat issue
- The USB-C PiSwitch makes daily startup and shutdown a button press instead of reaching for a connector
- The USB microSD card reader makes backups and file transfers easy from the Windows laptop on the bench
Where It Falls Short
- High-gloss case shows every fingerprint and every bit of garage dust
- No monitor, keyboard or mouse included, so it is a complete computer but not a complete workstation
- The microSD slot sits slightly recessed under the case edge and is fiddly to reach
- Documentation gets you to the desktop and stops there; the learning curve after that is yours to manage
Thirty-four years of my working life was spent proving that a connection either holds or it does not. A garage is not a lab. But this board has been powered on for most of two years and it has not once let me down.
Who This Is For
This is for the adult who wants to learn Linux and Python on real hardware and wants the first evening to end at a working desktop rather than in a troubleshooting thread. It is for the person who already has a monitor and a keyboard, or will buy them, and who has a project in mind, even a small one. A temperature logger. A file server. Something that blinks. The project is what keeps it on the bench instead of in a drawer.
It is also for the person coming from an Arduino kit who wants more compute and a real operating system underneath. The parts cross over, the GPIO header is there, and the jump from a microcontroller to a small Linux machine is the natural next step for anyone who has run out of things to do with a loop and a delay.
Who Should Skip It
Skip it if you want a printed course with lessons in order. The box gets you to a desktop and then steps back and lets you decide. If you need the sequence laid out for you, an Arduino starter kit with a written tutorial is a better first purchase, and you can come to the Pi afterward with something already built.
Skip it if you have no monitor, no keyboard and no intention of buying them. A headless first setup is possible and it is not where a beginner should start. Skip it as well if what you really want is a cheap desktop computer for email and browsing, because a used mini PC does that job with less fiddling and with the operating system already installed.
The Computer on My Bench That Has Not Needed Me Since 2024
Board, 3.5A supply, case with an integrated fan mount, low noise fan, heat sinks, a pre-loaded 32GB card, a display cable and an on/off switch. Add a monitor and a keyboard and you are running tonight.
Amazon Check Today's Price on Amazon →