
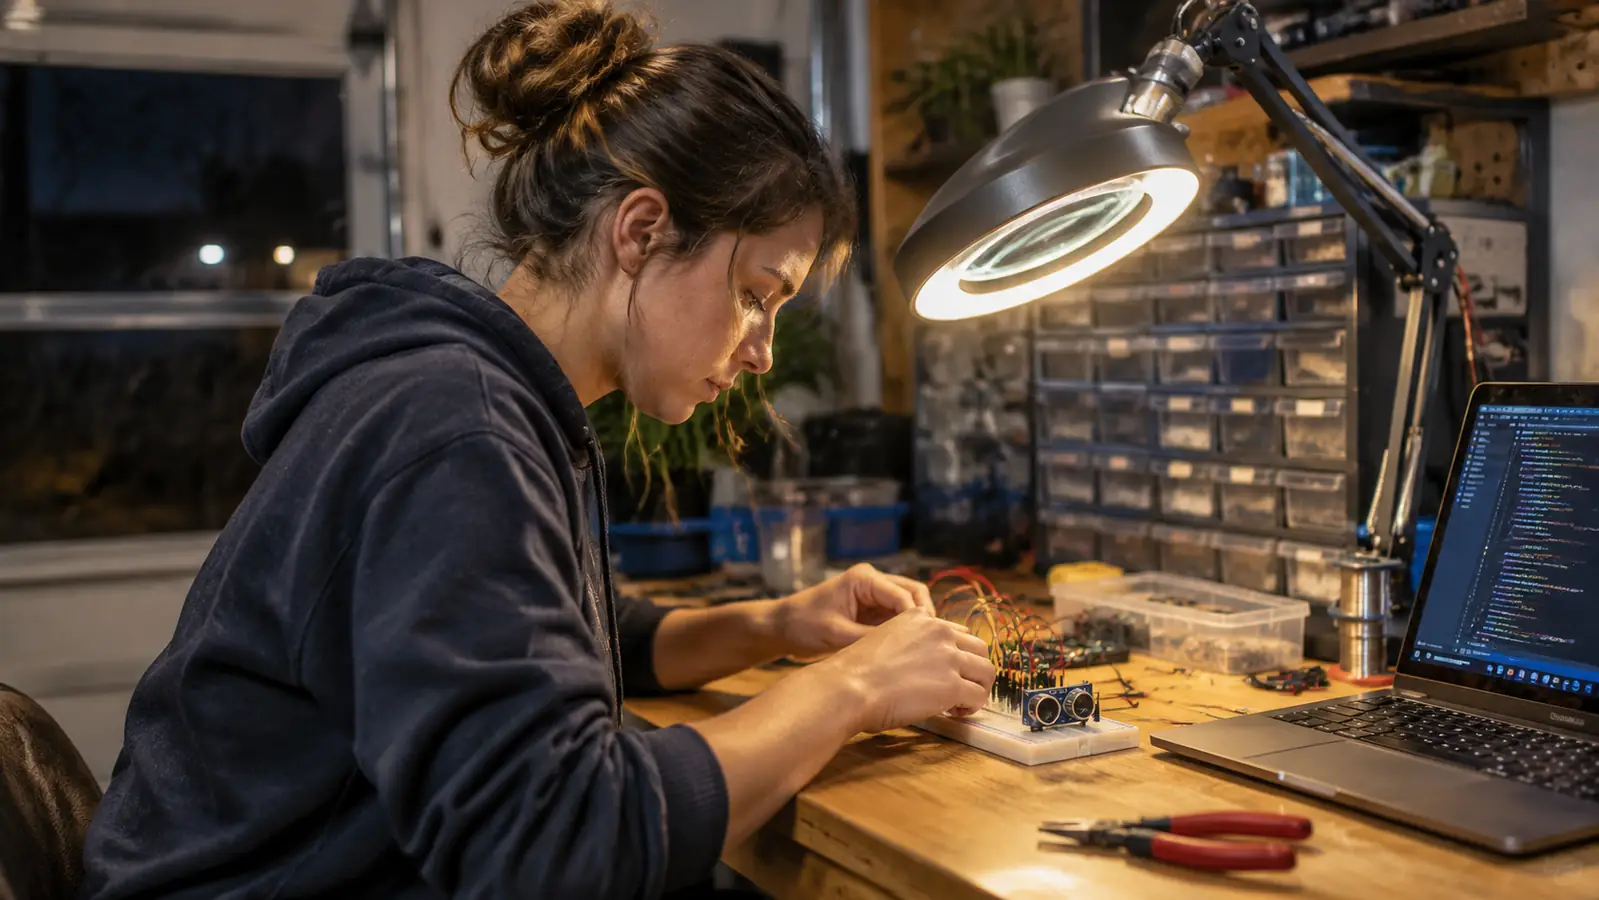
The first time I plugged a sensor into a breadboard, in the spring of 2024, I got nothing. Not an error, not a burn, just a serial monitor sitting there empty while I stared at it. I had spent 34 years troubleshooting wiring harnesses on aircraft, and I still managed to get a three-pin sensor backward on my own kitchen-table-turned-bench project.
That is the thing nobody tells a beginner. Reading a sensor is not one skill, it is three: getting the pins right, getting the code right, and knowing what a plausible number looks like so you can tell a real reading from a garbage one. The ELEGOO UNO R3 Project Super Starter Kit covers all three in its tutorial lessons, and it does it in an order that mostly makes sense. Most of the frustration I hear about comes from people skipping to the sensor lesson before they have done the LED and button lessons, which is like reading a schematic before you know what a resistor symbol is.
The kit that has the DHT11, the ultrasonic sensor, and the lesson that explains both
The ELEGOO UNO R3 Project Super Starter Kit includes the UNO R3 controller, the sensors, the breadboard, and a PDF tutorial with the example code already written. It is the kit I learned on in 2024 and the parts are still my breadboard stock today.
Amazon Check Today's Price on Amazon →What the Two Sensors Actually Do
Before any wire goes in, it helps to know what job each part has, because they behave differently and a beginner who treats them the same way gets confused fast.
The DHT11 is a temperature and humidity sensor. It has three usable pins, it wants 5 volts, and it answers when the board asks it a question. It is slow. If you ask it for a reading more than about once every two seconds, it will start handing you garbage or refusing to answer at all. That is not a fault, that is the part doing what its datasheet says.
The ultrasonic sensor is a distance sensor. It has four pins, it wants 5 volts, and it works like a bat: it fires a burst of sound, then listens for the echo. The board times how long the echo takes to come back, does a little arithmetic, and hands you a number in centimeters. It is fast, it is a bit noisy, and it does not care what the object is made of as long as the object is big enough to bounce sound back at it.
Step 1: Do the boring lessons first
I know. You bought a kit to read sensors, not to blink an LED for the fourth time. Do it anyway. The ELEGOO tutorial starts with digital output, then digital input, then analog input, and each of those lessons is teaching you one thing you will need later.
The LED lesson teaches you which breadboard rows are connected to each other. The button lesson teaches you what a pull-up or pull-down resistor does and why a floating input pin gives you random garbage. The analog lesson teaches you that some pins read a range of values and some only read high or low.
If you skip straight to the sensor lesson, you will wire a sensor into a row that looks connected and is not, or you will put it on a pin that cannot do what the code expects, and you will have no framework for figuring out which of those two things went wrong. I wired an LED without its resistor in May 2024 and burned it out. One LED, nothing else, but it taught me to slow down and read the diagram before I plugged anything in.
Step 2: Wire the temperature sensor with the power off
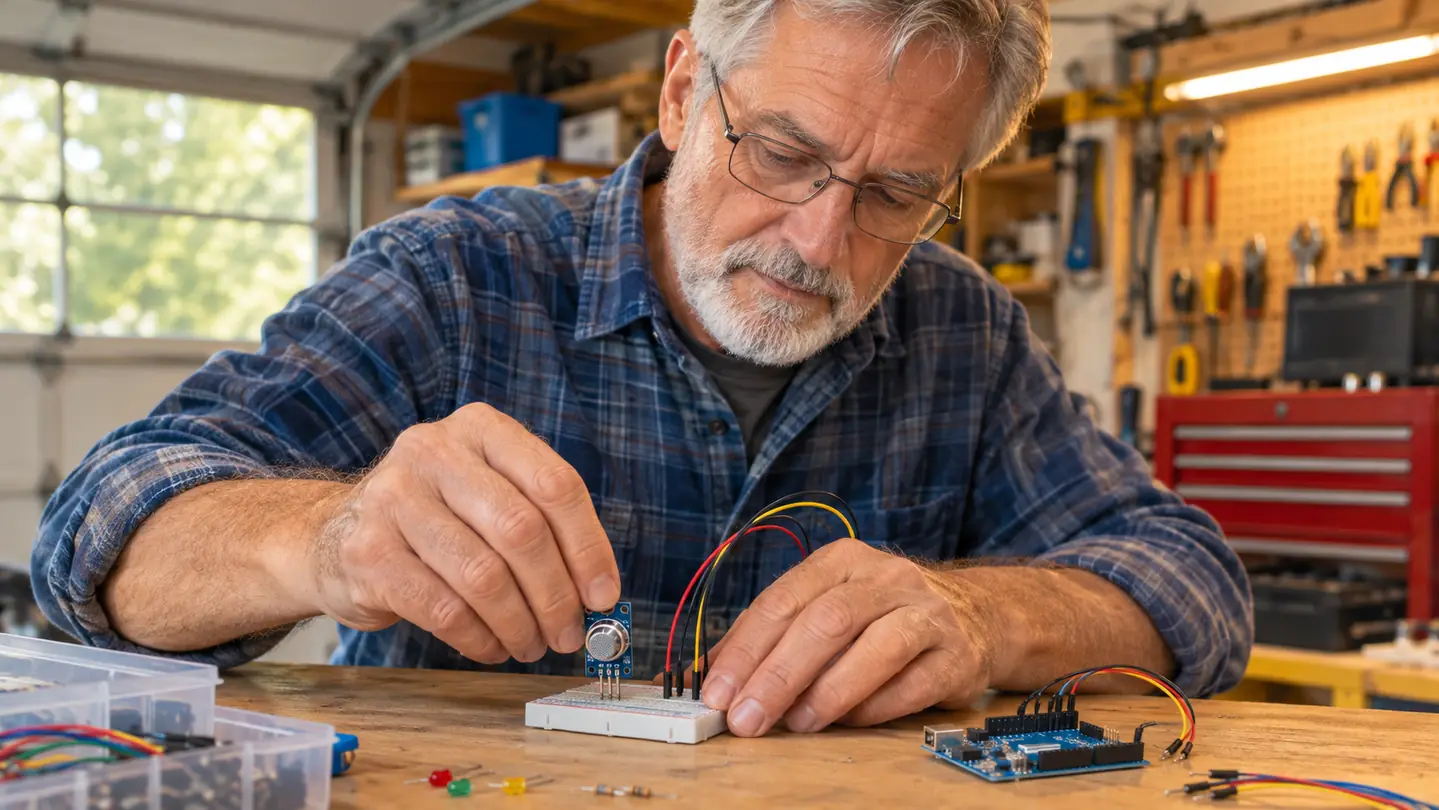
Unplug the USB cable from the board before you touch a jumper wire. This is not drama, it is just good practice, and it is the habit that will save you from a shorted 5-volt rail later when you are working with something more expensive than a starter kit.
The DHT11 in the kit has its pins labeled. One is power, one is ground, one is the data line. Run power to the 5V rail on the breadboard, ground to the ground rail, and the data pin to a digital pin on the board. The tutorial uses a specific pin and the example code is written for that pin, so match the lesson rather than picking your own. If you want to move it later, you can, but change the pin number in the code to match and change it in one place only.
Now look at it. Not the code, the hardware. Is the sensor seated flat? Are the jumper wires pushed all the way into the breadboard, or are they sitting on top of the plastic looking like they are in? Give each one a gentle push. Half of the "my sensor does not work" evenings I have had came down to a wire that was technically touching and electrically not connected.
Step 3: Open the example code and read it before you run it
Here is where I differ from a lot of tutorials. Do not upload the code the second you find it. Read it first. The ELEGOO examples are short and commented, and reading them is the whole point of buying a kit with a tutorial instead of a bag of parts.
You are looking for two things. First, the pin number. Somewhere near the top there will be a line assigning a number to a name, and that number has to match where you put the wire. Second, the delay. Look for a pause between readings. If the example pauses for a second or two before asking the sensor again, that is there for a reason and you should not delete it to make the numbers scroll faster.
Connect the laptop, pick the right board and port in the Arduino IDE, and upload. Then open the serial monitor. Set the baud rate to whatever the code says, because a mismatch there gives you a screen full of nonsense characters and a beginner will spend an hour convinced the sensor is broken. The baud rate is not a sensor setting, it is how fast the two sides agree to talk.
Step 4: Wire the distance sensor and understand the echo
Power off again, then pull the USB. The ultrasonic sensor has four pins: power, ground, trigger, and echo. Power and ground go to the rails the same way. Trigger is an output from the board, the pin that says "shout now." Echo is an input to the board, the pin that listens for the reply.
That trigger and echo split is where the concept clicks for most people, and it is worth sitting with for a minute. The board is not asking the sensor for a number. The board is telling the sensor to make a noise, then timing how long the reply takes. Once that lands, the code stops looking like magic and starts looking like a stopwatch.
Two practical notes. Keep the sensor pointed at something flat and at least a hand's width away, because very close objects give unreliable readings. And do not expect a clean number every single time. Put a book in front of it and you might get 24 centimeters, then 24, then 26, then 24. That jitter is normal. Real ultrasonic sensors are noisy, and the fix is to average several readings in your code, not to assume the part is defective.
Step 5: Prove the reading is real before you trust it
This is the step I would put first if I could, because it is the one that separates a person who owns a kit from a person who can use one. Once you have a number on the screen, try to break it.
Breathe on the temperature sensor. Does the number move? Cup your hands around it. Does it climb? If it reads room temperature and then reads room temperature and then reads room temperature no matter what you do, you are probably printing a variable that never got updated, or you are printing a constant the example defined. A number that never changes is not a measurement, it is a placeholder.
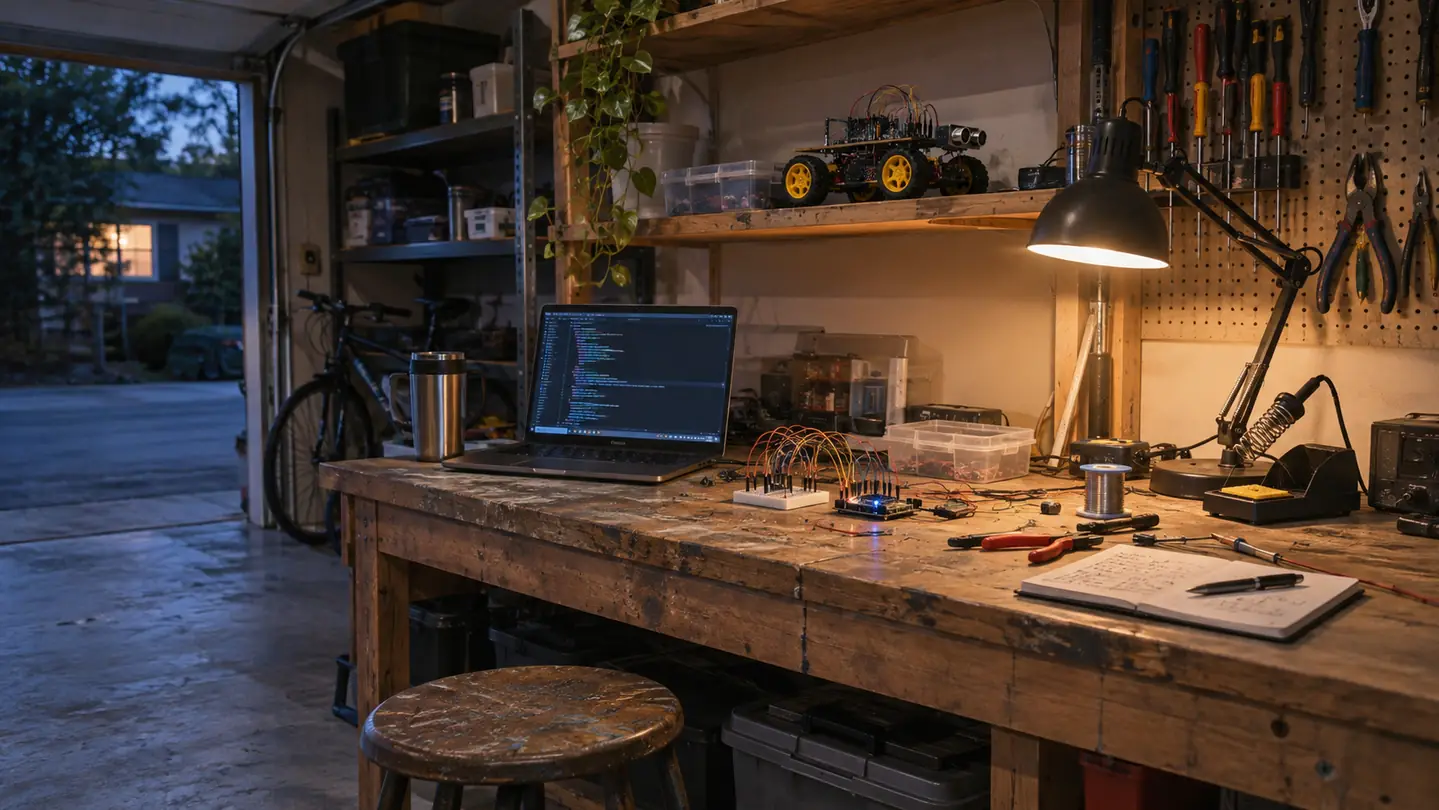
For the distance sensor, move the book closer and further. Does the number track? Point it at a soft towel and then at a hard cover book. The soft surface will give you a worse reading or nothing at all, and that is the sensor teaching you something real about how sound bounces. Now point it at the ceiling. If you get a plausible number for the height of your garage, you have a working sensor and a working understanding of it.
I did the same thing with the garage temperature logger I wrote on the Raspberry Pi later. I did not trust the code until I had carried the sensor from the cold garage into the warm kitchen and watched the number climb. That is not extra credit. That is the actual work.
A number that never changes is not a measurement, it is a placeholder. Breathe on the sensor and see if it moves.
What I Liked
- The kit includes both sensors, the breadboard, jumper wires and the example code, so nothing is missing on the evening you sit down to learn
- The PDF tutorial runs the lessons in a sensible order, building digital and analog basics before the sensor lessons
- The parts survive the learning process: the same board and sensors still serve as breadboard stock two and a half years later
- The UNO R3 is a forgiving board to make mistakes on, with 5-volt tolerant pins that match the sensors in the box
Where It Falls Short
- The included sensors are the basic versions, so the DHT11 is slow and the ultrasonic sensor is noisy compared with pricier modules
- The tutorial is a PDF rather than a printed booklet, which means reading it on the same laptop you are coding on
- Nothing in the box teaches you to average noisy readings, so you have to add that yourself once you notice the jitter
What Else Helps
A multimeter turns sensor debugging from guesswork into measurement. My AstroAI AM33D lives on the bench and gets used on almost every build. Before I plug a sensor in, I check the 5-volt rail and the ground rail. Two probes, ten seconds, and I know whether the problem is in my wiring or in my code. If the rail reads zero, I am not looking at a software bug.
Continuity mode is the other half of it. When a jumper wire is suspect, pull it out and check it end to end. I have thrown away wires that looked perfect and were broken inside the insulation, and I have also thrown away a wire that was fine because I did not check it and assumed. One of those two habits costs more time.
A notebook helps more than it sounds like it would. Not for the wiring, for the numbers. Write down what the temperature sensor read at the start of the evening and what it read an hour later. Write down the distance readings you got from a book at arm's length. Then when something looks wrong next week, you have a baseline instead of a feeling.
And keep the kit organized. The ELEGOO box has compartments for a reason. The single biggest time sink on my bench is not a hard bug, it is hunting for a jumper wire I already own three of.
Two sensors, one evening, and a tutorial that explains the pins before it explains the code
The ELEGOO UNO R3 Project Super Starter Kit ships with the DHT11, the ultrasonic sensor, the UNO R3 board, a breadboard, jumper wires and the PDF tutorial with example code. It is what I learned on after I retired, and the same parts are still in my drawer today.
Amazon See the Full Kit on Amazon →