
The box arrived in April 2024 and I did what I always do with anything new. I opened it on the bench, spread the bags out, and sorted them before I plugged in a single wire. I am 63 years old. I spent 34 years troubleshooting wiring harnesses and circuit boards on aircraft, and until that spring I had never touched a hobby microcontroller. The ELEGOO UNO R3 Project Super Starter Kit was my first board of any kind. Four months of evenings later I had worked through the tutorial, burned exactly one LED through my own carelessness, and formed a clear opinion about what this kit gives you and what it quietly leaves out.
That is what this review is. It is not a parts list read aloud and it is not a warning. The kit is good and I still use the parts. But most write-ups stop at the fact that there is a lot of stuff in the box. The useful question is different. After the last lesson, what can you actually do that you could not do before, and what will you have to buy or learn somewhere else? Here is my answer after two and a half years of keeping it within arm's reach.
The Quick Verdict
A well chosen pile of parts and a tutorial that teaches you to follow instructions. Worth it as a first board, provided you plan for the gaps.
Amazon Check Today's Price →1.2 pounds of parts, one USB cable, and 22+ lessons in a PDF
That is the whole offer, and it is a good one for a first board. See the current contents, the rating and the review count on Amazon before you decide.
Amazon See the kit on Amazon →What Actually Comes in the Box
The shipping box measures 8.3 by 5.5 by 1.97 inches and the whole thing weighs 1.2 pounds. That number matters more than it looks like it should. A kit about the weight of a hardcover book is a parts kit, not a project kit. There is no frame, no case, no wheels, and nothing to build the parts into. What you get is a set of components for proving circuits on a breadboard, which is exactly what a first board should be.
The core is the UNO R3 controller, a 16 MHz board with 2 KB of SRAM that connects over USB to the laptop on my bench. Around it: a breadboard, a breadboard power module, an LCD1602 display with the pin header already soldered on, a servo, an LED assortment, resistors, a temperature sensor and a distance sensor. ELEGOO ships the tutorial as a PDF rather than a printed book. The listing carries a one year manufacturer warranty, which I have never needed to use and cannot speak to beyond that.
The pre-soldered header on the LCD1602 deserves its own paragraph. Soldering a header onto a display is the step where a lot of beginners stop, because one cold joint gives you a blank screen and no obvious way to find out why. ELEGOO did that job at the factory. It is the most thoughtful decision in the box, and it tells you the kit was put together by someone who has watched people quit.
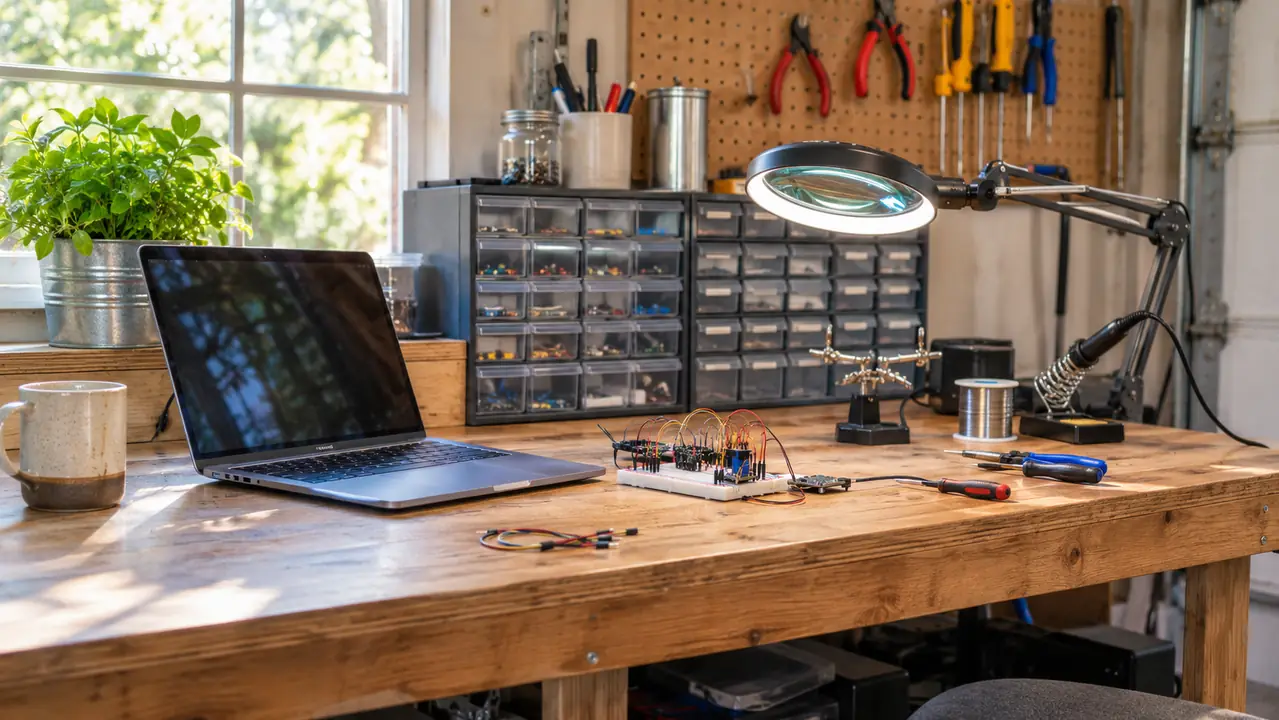
There is also no storage. The parts arrive in bags, and bags are not storage. I moved everything into the drawer cabinet on the back wall of my garage and labeled the drawers, which cost me an evening and has paid for itself many times over. If your bench is a kitchen table, add a compartment box to your first order.
How I Worked Through It
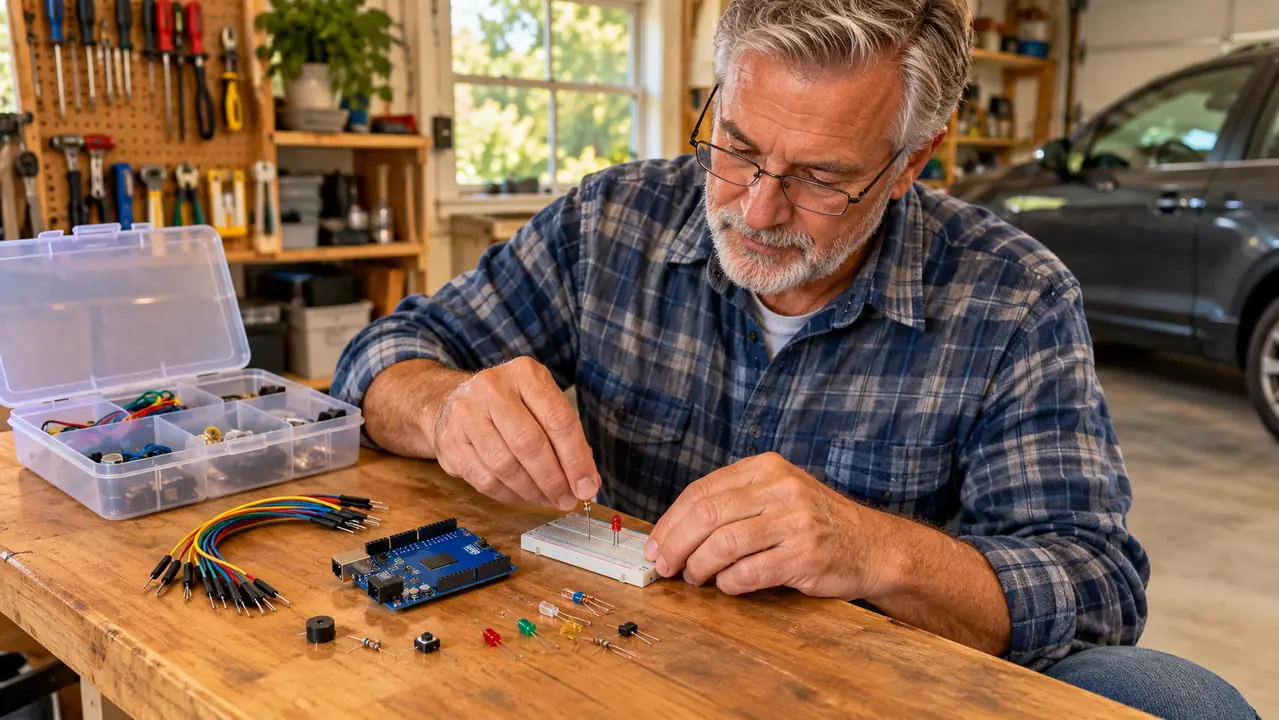
The tutorial walks you from a blinking LED through digital input and output, then reading temperature and distance, then driving the servo and the display. I did the lessons in order, an hour or two at a time, usually after dinner, over about four months. The board plugs into the laptop, the Arduino IDE compiles and uploads, the board resets and runs. That loop is satisfying in a way I did not expect. Thirty four years of testing other people's designs, and here I was at 63 writing a handful of lines and watching something happen because of them.
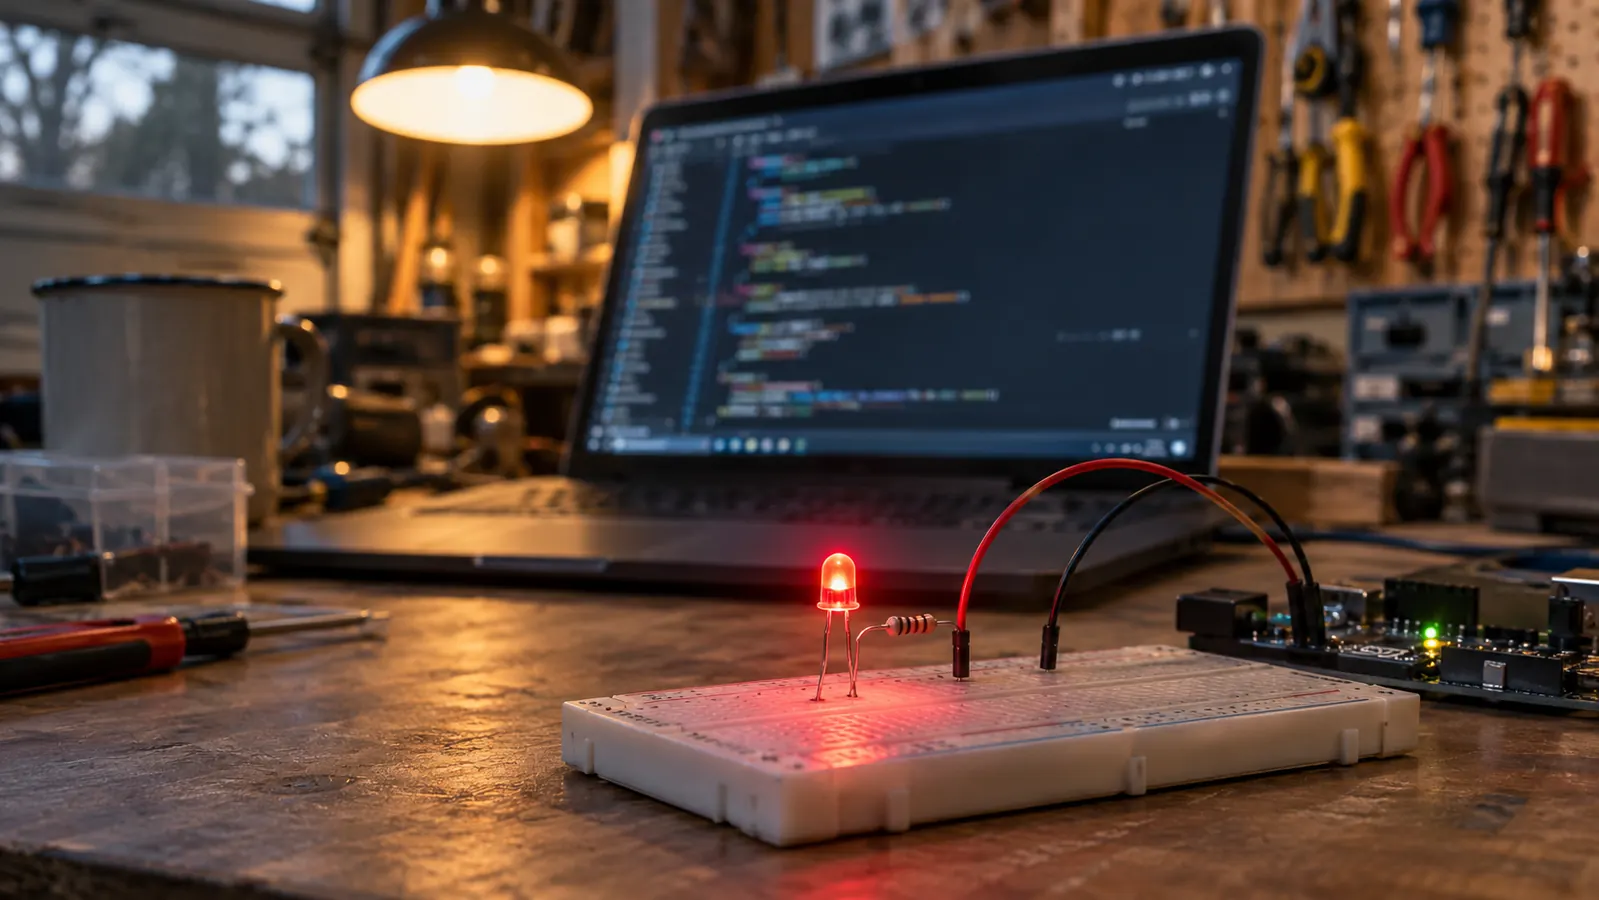
One evening in May 2024 I got careless. I had an LED sitting across the rails with no resistor in front of it and I powered the breadboard anyway. It lit up bright and pretty for about two seconds and then went dark for good. One LED, nothing else, and no damage to the board. Carol asked what the smell was. I told her it was an education.
That story belongs in an honest review because it is the most useful thing the kit taught me and it did not come from the tutorial. The tutorial tells you to put a resistor in the circuit. It does not tell you what happens when you skip one, and it does not tell you how to check a resistor before you trust it. I own a multimeter, so I checked. A beginner who does not own one is guessing, and guessing is how you end up buying a replacement board.
Pacing is where people quietly fall off. The first several lessons take twenty minutes each and feel wonderful. Then the display arrives and the wiring gets dense, and one evening's work becomes two. I got through it because I had made a habit of the bench hour, not because the tutorial carried me. If you need momentum to keep going, plan the denser lessons for a weekend morning rather than nine at night.
What the Tutorial Does Well
The order is right. It starts with an output you can see, moves to inputs that report numbers you have to interpret, and ends with the display and the servo, which are the two parts that make a beginner feel like a wizard. Each lesson is short, each one builds on the wiring from the one before, and the example code comes with the kit so you are never staring at an empty editor wondering what to type.
The wiring diagrams are drawn as pictures of the breadboard with each wire shown where it goes. For a total beginner that is the correct choice and probably the only one that works. I have watched people give up on a text description of a circuit in under five minutes. ELEGOO's approach gets you to a working circuit on the first evening, and a working circuit is what brings you back on the second evening.
The example code is written to be read, not admired. Variable names are plain, the loops are short, and nothing hides behind a library function you cannot open. That matters more than it sounds like it should, because the moment you can read the example you can change it, and the moment you can change it the lesson stops being a demonstration and becomes a starting point.
The distance lesson stuck with me. You watch a number on the screen follow your hand as you move it closer. It is a small demonstration and it teaches more about reading a sensor than several pages of explanation would, because you can see the number wobble and you start asking why it wobbles.
Where the Tutorial Falls Short
Here is the part nobody puts in a starter kit write-up. This tutorial teaches you to follow a picture, not to read a schematic. My whole working life was schematics. A drawing of a breadboard with wires running everywhere tells you where to push things. It does not tell you why the circuit works, and it gives you no tool for translating a circuit you find in a book into a layout on your own board.
I closed that gap the slow way. After each lesson I redrew the circuit as a schematic in a notebook, then built it again from my drawing with the tutorial closed. Two of them worked on the first try. The rest taught me more. If you want to design your own circuits eventually, budget that extra step, because the kit will not do it for you.
Setup is the other place it moves fast. Getting the Arduino IDE onto the laptop, selecting the board, finding the port: all of it is covered in a few short steps and then left behind. On my Windows machine it worked the first time. On a machine where the port does not appear, the tutorial has nothing to offer, and that is the most common place a beginner gets stuck before the first LED ever blinks.
The bigger gap is troubleshooting. Each lesson ends when the circuit works. Nothing in the PDF walks you through the far more common situation, which is the circuit not working. The failures I hit were boring and repeatable. A wire one row off. A part in backwards. A ground missing. Two pages listing the usual mistakes and how to find them would have saved me an hour across four months. It is not in there.
And it is a PDF. I printed the early lessons and the stack was thick enough to need a binder, and reading a wiring diagram off a laptop while both hands are full of wires is a nuisance. ELEGOO chose a downloadable file over a printed manual, which keeps the kit lean and means you will want to print at least the first several lessons.
The kit teaches you to follow a picture. It does not teach you to read the circuit, and that is the difference between finishing the last lesson and building something that is yours.
The Parts That Held Up and the Parts That Did Not
Two and a half years on, the UNO R3 board is still on the bench and still takes a program every time I ask it to. The breadboard has held its grip through a great many insertions. The LCD1602 still works and still wears the factory header. The LED assortment is a consumable, in the sense that I burned one and have used a good number of the others since, which is a fair description of what LEDs are for.
The breadboard is the piece I underestimated. It is the thing that makes the whole kit work, because it lets you build, test, unbuild and rebuild without a soldering iron. Mine has been loaded and stripped more times than I can count and the springs still grip the legs. When it finally wears out I will buy another one without thinking about it, and that is the highest compliment I can pay a part like that.
The servo and the sensors are the honest weak point, and that is less a knock on ELEGOO than a fact about any beginner kit at this level. The distance sensor readings jump around, and I learned to take several and average them before trusting the number. The temperature sensor is close enough for a lesson and not close enough for anything I would log and keep. They do the job they were bought to do, which is prove a concept on a breadboard. They are not the parts I would put in a build I meant to keep.
The kit does not include a multimeter. Because the AstroAI on my bench predates the kit by two months, I never felt the gap directly, but I would not want to start without one. Is this battery actually dead. Is this resistor the value the bag says it is. Is 5 volts where I think it is. Those are week two questions and none of them can be answered by looking at the board.
What I did not expect was how much of the kit would stay in service once the lessons were done. The board is my test bed for anything I want to try before committing a part to a soldered project. The display is the first thing I reach for when I need to see a number. The drawer of LEDs and resistors is the drawer I open most often. The tutorial is finished. The parts are not.
What I Liked
- The pre-soldered header on the LCD1602 removes the one soldering job that stops most beginners cold
- The 22+ lessons run in a sensible order and each one produces something you can see
- The UNO R3 board is still taking programs two and a half years later
- Every part needed for the early lessons is in the box, so nothing stalls you on the first night
- One year manufacturer warranty on the listing
Where It Falls Short
- The tutorial teaches you to copy a wiring picture, not to read a schematic
- No troubleshooting section for the far more common case where the circuit does not work
- PDF only, with no printed manual in the box
- No multimeter included, and you will want one by week two
- Parts arrive in bags with no storage case
- The sensors are fine for lessons and not good enough to build into something permanent
Who This Is For
It fits an adult who has never programmed a microcontroller and wants a defined path through the basics, in order, with something visible at the end of each sitting. It fits someone who learns by doing and would rather wire a circuit badly and fix it than read a chapter on theory first. It also fits a person who wants a stock of breadboard parts and a board that stays useful after the lessons are done, which is the camp I ended up in. If you are patient, willing to redraw a circuit in a notebook, and comfortable being confused for twenty minutes at a time, this kit will carry you a long way.
Who Should Skip It
Skip it if you already know your way around a breadboard. Nothing here will be new to you after the first few lessons, and the parts are ordinary. Skip it if what you actually want is a robot that drives around the garage floor, because this kit does not move. The ELEGOO Smart Robot Car Kit V4 is the one on my shelf for that job, and it sits at a different level. Skip it if you want to learn electronics theory, since this is a practical kit and the explanations are thin. And skip it if you expect a permanent soldered project, because everything here lives on a breadboard and comes apart the moment you pull the wires.
Two and a half years is long enough to know whether a purchase was a good one. This one was. The board still runs, the lessons gave me a foundation I have built on ever since, and the failure I remember most is one I caused myself with an LED and no resistor. That is a fair trade for a first kit. Go in knowing that the tutorial is a starting line rather than a course, and that the parts are worth more than the paper the instructions were not printed on.
Buy it for the parts and the first twenty lessons
The board still takes a program, the display still works, and the drawer of parts is the one I open most. If you want a first microcontroller and a path through the basics, this is the one on my bench.
Amazon See it on Amazon →