
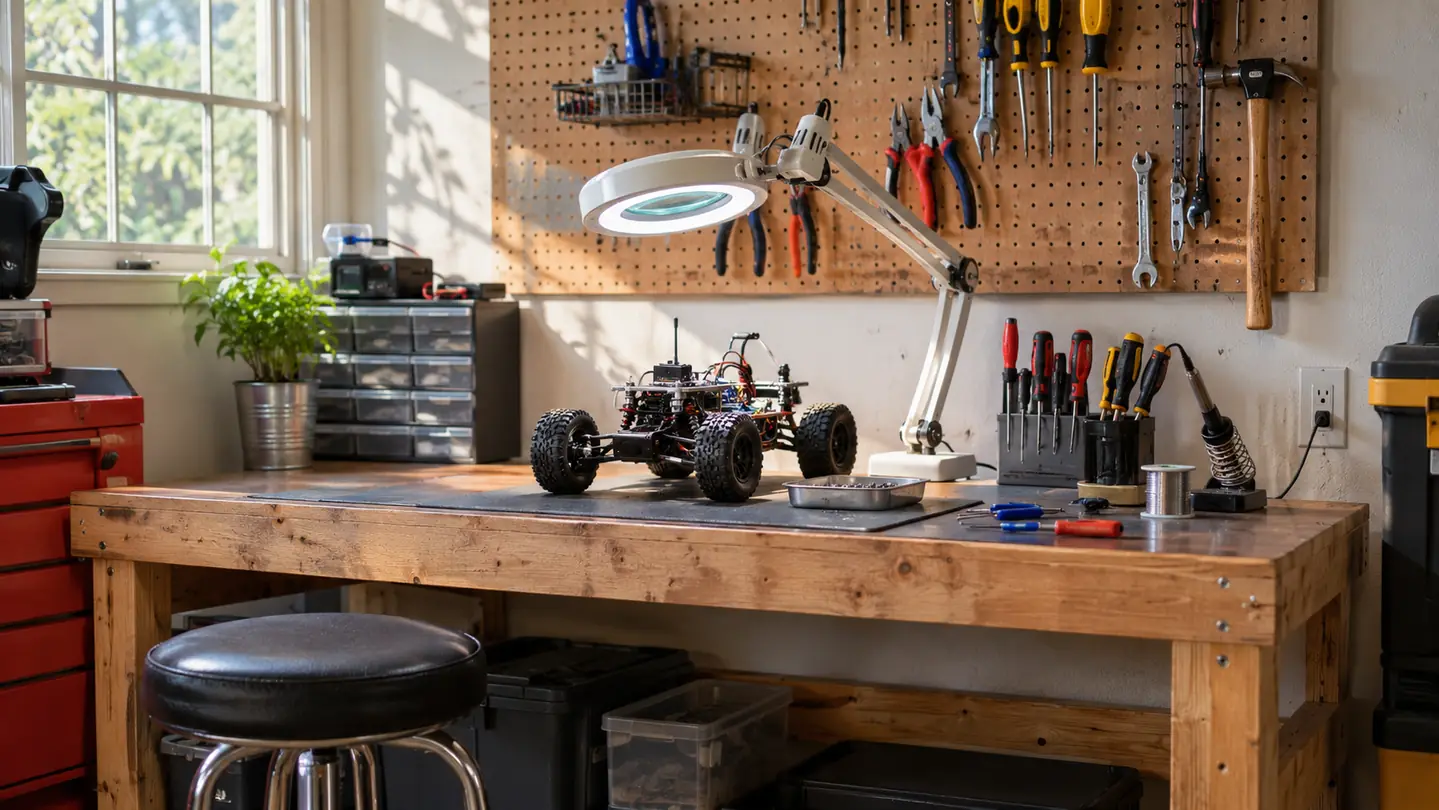
Two Saturdays, about six hours of assembly, and one sensor cable pushed into the wrong port. That is the short version of my first month with the ELEGOO Smart Robot Car Kit V4. I bought it in February 2025, cleared the good light at the far end of the garage bench here in Everett, and laid the parts out in the order the tutorial lists them, the way I used to lay a wiring harness out on a hangar mat.
I am 63. I spent 34 years troubleshooting aircraft avionics before I retired, and I have wired more connectors than I could count without writing them down. What I wanted from this kit was not another thing to drive around the kitchen. I wanted a build that would force me to understand the parts: the controller board, the motor driver, the sensors, the camera, and the code that holds all of it together. The ELEGOO kit delivers that. It also has three or four sharp edges nobody mentions in the listing, and those are what this review is really about.
The Quick Verdict
A real build that teaches the wiring and the code, held back by a tutorial that shows you what to do more than why, and a camera that is a steering aid rather than a camera.
Amazon Check Today's Price →The kit I would hand a beginner before I would hand them a loose pile of parts
Keyed connectors, an illustrated tutorial, and example programs that actually compile. That combination is why this one stayed on my bench instead of going back in the box. Check today's price and the current listing details on Amazon.
Amazon Check Today's Price on Amazon →How I've Used It After Twenty-One Months
I finished the build in February 2025 and it has been assembled and running ever since, about a year and nine months as I write this in November 2026. It lives on a shelf under the bench, not in a box. That distinction matters more than it sounds. A kit that goes back in its box is a kit that taught you one evening's worth of things.
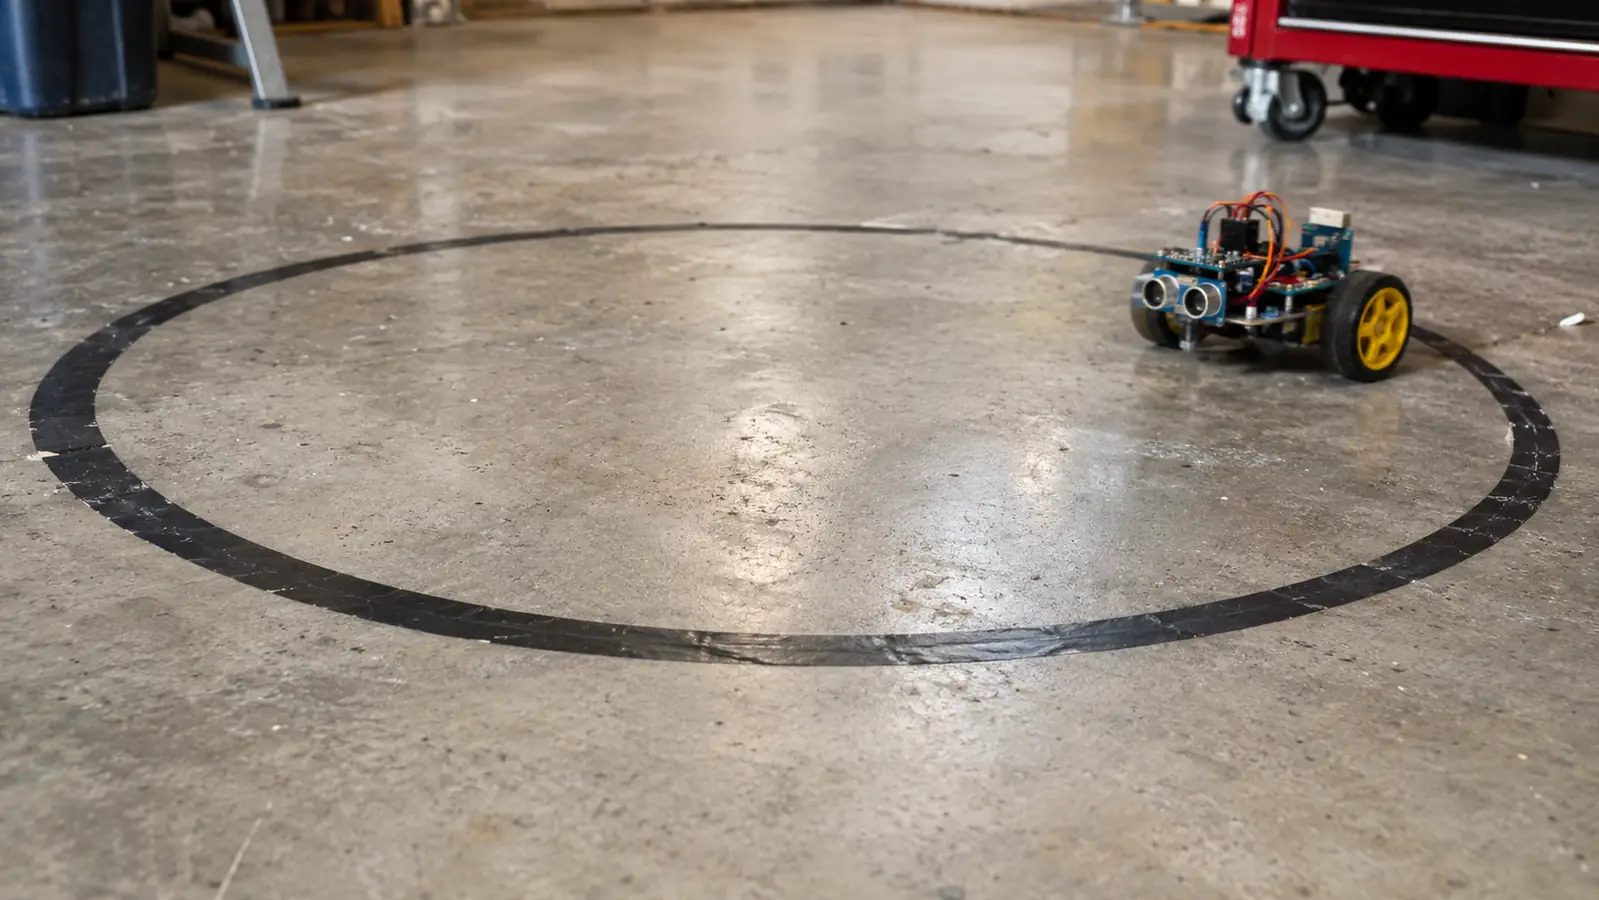
It runs on the garage floor. I laid a loop of black electrical tape on the concrete, roughly an oval about four feet across, and the car tracks that line better than I expected once I stopped fighting the calibration and let the sensor do its job. I drive it from the ELEGOO app on my phone, and I drive it with the little IR remote from the box when I do not want to unlock a phone with solder on my fingers. When I want to change how it behaves, I plug it into the one Windows laptop on the bench and reprogram it in the Arduino IDE.
Here is the part I did not expect. I use it as a teaching aid for myself. When I want to test whether I actually understand a piece of code, I try it on the car, because behavior you can watch drive into a wall is much harder to fool yourself about than behavior you read in a serial monitor.
I have never built a robot from a loose-parts DIY chassis, so I will not pretend to compare the two from experience. What I can tell you is that this arrives as a kit: panels, hardware, keyed cables, a tutorial, and example programs that work out of the box.
What Comes in the Box and What It Asks of You
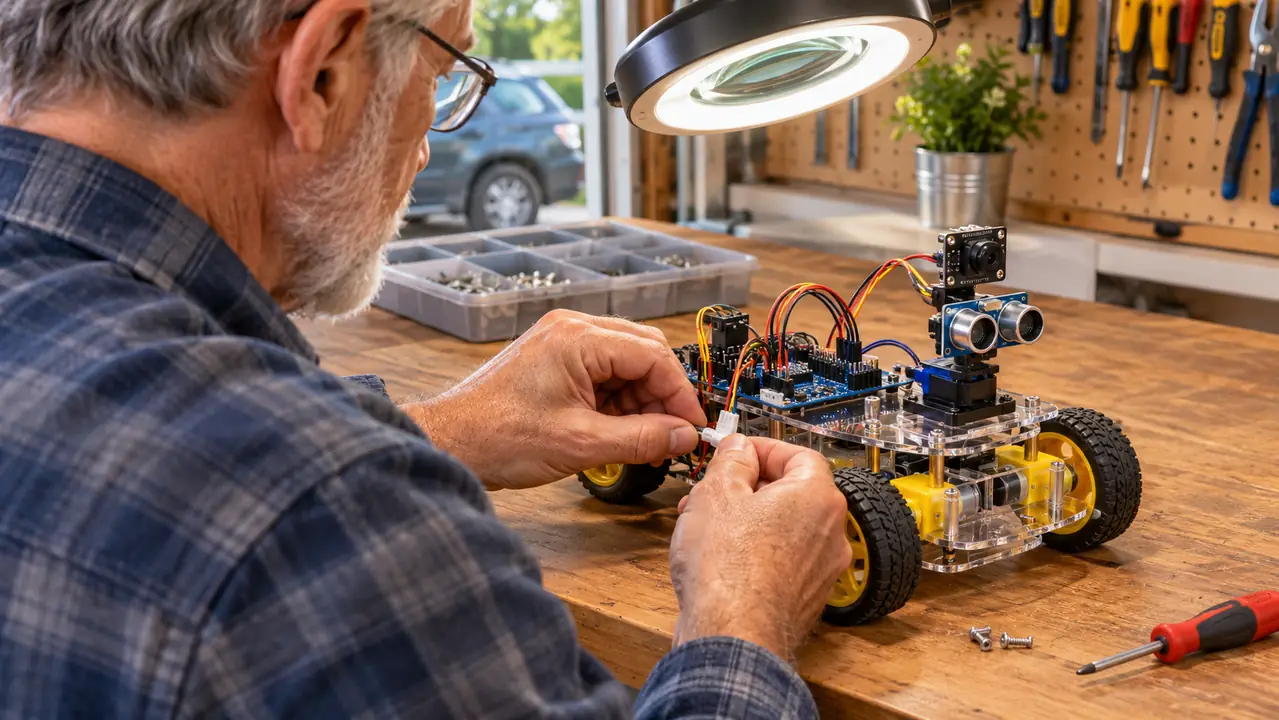
Physically, the car is a stack of acrylic and plastic panels with the electronics sandwiched between them. Assembled it measures about 8 by 7 by 6 inches as the listing gives it, and the whole kit weighs a touch over a kilogram, 1.23 kg by the listing. Small enough to sit on a shelf, heavy enough that it does not skitter when the motors start.
The connections are the part I want to talk about, because this is where most kits lose beginners. The cables use keyed XH2.54 connectors. Keyed means the plug only goes into the matching socket one way, and the socket only accepts the matching plug. That single design choice removes the most common way a beginner kills an evening, which is reversing a lead and then wondering why nothing lights up. It does not remove every mistake. You can still put a cable in the right orientation and the wrong port, which is exactly what I did.
The listing calls for ages 12 and up, and it carries a half-year manufacturer warranty. I read the age guidance as being about patience and small hardware more than about danger. Nothing here bites you. There is simply a fair amount of small hardware, and it rewards a steady hand and a muffin tin or a parts tray to keep screws from rolling off the bench and into the dark.
The learning material is an illustrated tutorial plus a set of example programs. This is where the kit is strongest and weakest at the same time. It is genuinely illustrated, which matters, and it walks a beginner through in a sensible order. It is also the kind of documentation that assumes you will follow the diagram rather than reason about it. When I wanted to know why a wire went where it went, I had to go read the code and work it out myself.
Behavior you can watch drive into a wall is much harder to fool yourself about than behavior you read in a serial monitor.
The Build: Two Saturdays, and Where I Got Stuck
I did the assembly over two Saturdays, roughly six hours total, and I was not rushing. The first Saturday was the chassis and the motors. The second was the boards, the wiring, and the first successful upload.
My mistake came on the first Saturday. I pushed one sensor cable into the wrong port. It seated fine. It looked fine. The car simply did not respond the way the tutorial said it would, and I spent about ten minutes staring at code that was never the problem before I went back to the printed diagram. The diagram was right. I had read it wrong. I moved the cable and the car behaved. No part was damaged, nothing needed replacing, and those ten minutes taught me more about the wiring than the previous hour of assembly had.
That is the honest shape of this build for an adult. It is not hard. It is detailed. If you can follow a diagram and you are willing to stop and check when something does not respond the way it should, you will finish it. If you race it, you will spend a Saturday evening debugging a cable.
The panels are acrylic and plastic and they go together with screws and standoffs. I would not call the finished car rugged. It is a bench instrument that drives, not something you hand to a nine-year-old and turn loose on a driveway.
Driving It: App, Remote, and the Tape Loop on the Concrete
You control it two ways. There is the ELEGOO app on a phone, and there is an IR remote in the box. The app is the more interesting of the two because it also shows the live view from the onboard camera, FPV style, right there on the phone screen. The remote is the more reliable of the two, in the sense that it does not care whether your phone has decided to update itself at that exact moment.
The camera is where I would set expectations. It gives you a live view. It is not a photographic instrument. In the garage with the overhead light on, the view is good enough to steer by and to see where the car is pointed. Under the bench in shadow it is gray soup. That is fine for what it is. Just do not buy this kit expecting a camera you would film anything with.
Line tracking is where the kit earns its keep. That loop of black electrical tape on the concrete is a contrast line, and the car follows it. It tracks well on clean concrete in decent light. Scatter sawdust across the floor and it wanders. That is not a defect, that is a lesson about sensors, and it is one of the better lessons in the whole kit, because you can watch it happen and then go change the code to compensate.
The listing also covers obstacle avoidance, and the example programs include it. I have run it. It works well enough to demonstrate the idea clearly, which is all a teaching kit owes you.
What the Kit Actually Teaches, and What It Does Not
It teaches wiring by making you do the wiring, and it teaches you to read a diagram because the diagram is the only thing standing between you and a car that sits there. It teaches the idea that a sensor is just an input, a motor is just an output, and the code in the middle is where the behavior lives. That is the whole of robotics in one sentence, and this kit makes you live it in a way no book manages.
It teaches code reading. The example programs ship working. Your first job is to change one number and see what happens. I changed the speed value in the line-tracking example and watched the car start overshooting the curve on my tape loop, which taught me more about control than any tutorial paragraph would have. Then I changed it back and understood why the original number had been chosen.
What it does not do: it does not make you a programmer, it does not make you an engineer, and it does not stand in for a course. It gives you a physical thing that responds to your code, which is the piece most beginners are missing, and after that it is on you. I will not tell you it leads to work. I am retired and I build for the fun of it, and that is the honest frame for this kit.
It also does not teach soldering. The wiring is done with keyed plug connectors, which is right for the audience it is aimed at. If soldering is the skill you are chasing, this is not the purchase that gets you there.
The Rough Edges
The tutorial is the biggest one. It is illustrated, and it is complete in the sense that it will get a careful beginner to a working car. It is thin in the sense that it rarely explains the why. When I wanted to know what a particular sensor was reporting and how the code turned that into a turn, I went to the code and to my own background. Someone without 34 years of electronics behind them will feel that gap more than I did.
Second, the mechanical assembly is fussy in a way that is not really the kit's fault and is still the kit's problem. Small screws, acrylic panels, standoffs. Do it on a tray, in good light, with a magnifier if your eyes are 63 years old like mine.
Third, the camera. It works, it is genuinely useful for driving, and it sets an expectation the hardware does not quite meet.
None of that is a reason to avoid the kit. It is a reason to know what you are buying. I have returned nothing, no part has failed in twenty-one months, and the car still runs the tape loop.
What I Liked
- Keyed XH2.54 connectors take the most common beginner wiring mistake off the table
- Illustrated tutorial and working example programs get you to a moving car in a weekend
- Line tracking and camera driving make code changes visible on the garage floor
- App control plus an IR remote means you can drive without reaching for a phone
- Example programs are readable, so changing them teaches you something real
- Twenty-one months of garage-floor use with no failures and no returns
Where It Falls Short
- Tutorial shows you what to do far more than it explains why it works
- Acrylic and plastic frame is a bench instrument, not a rugged toy
- Camera is a steering aid, not a camera
- Line tracking is sensitive to floor mess and changing light
- Small hardware and a fussy build reward patience and a parts tray
Who This Is For
Adults who want to understand how a small robot actually works, from the wiring up through the code. Parents or grandparents who plan to build alongside a patient kid of about 12 or older rather than hand the box over and walk away. Anyone who has finished a starter kit and wants the next build to do something visible. And anyone like me, retired with a bench and a few free evenings a week, who wants a project where the payoff is honest: it drives or it does not, and you know which within a minute of switching it on.
Who Should Skip It
If you want a ready-to-run remote control car, skip this. It is a build. If you want to learn soldering, skip it, because the connections are plug connectors. If you want a camera platform for filming, skip it. If you are looking for something to occupy a nine-year-old unsupervised, skip it: the guidance says 12 and up and the small hardware agrees with the guidance. And if you want a kit that explains every principle in depth before you touch a part, understand that this one teaches by doing, and you will end up doing some of the explaining yourself.
The build that sent me back to read the code is the one worth buying
Two Saturdays, a tape loop on the concrete, and a car that still runs twenty-one months later. If that is the kind of evening you are after, the listing is the place to start. Check today's price on Amazon.
Amazon See the ELEGOO Robot Car Kit on Amazon →