
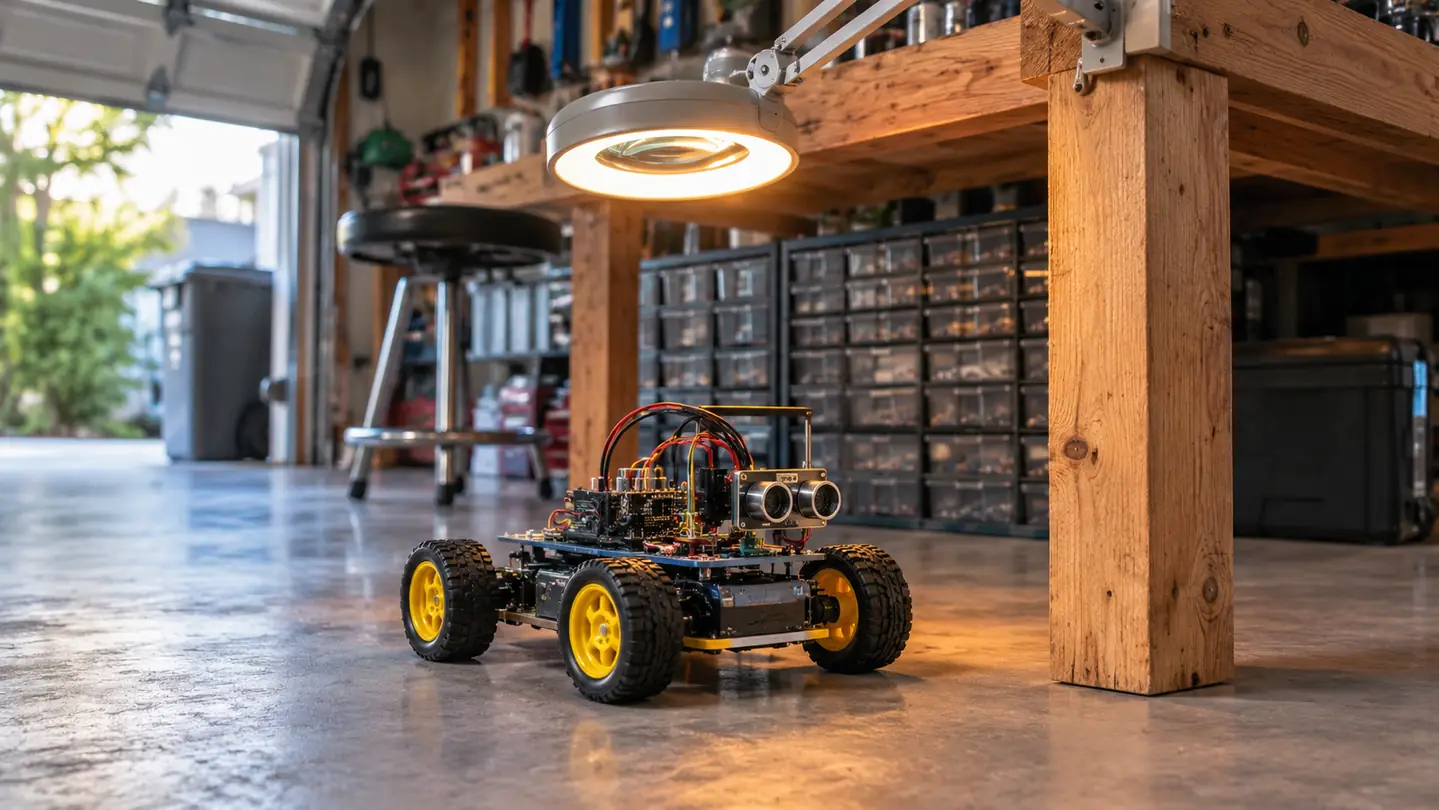
Thirty-four years I spent as an avionics technician, and most of that was reading wiring diagrams. I could trace a signal from a connector pin through three bulkheads and tell you which harness had rubbed through against a bracket. Then I retired in November 2023, moved my bench to the back wall of the garage in Everett, and found out that a man can only reorganize a parts drawer so many times before he needs something to actually do.
The ELEGOO UNO R3 Project Super Starter Kit arrived in April 2024, and it did its job well. Breadboard, LEDs, resistors, a tutorial you work through in order. I spent about four months of evenings on it. I also burned out one LED in May by wiring it without its resistor, which is the cheapest mistake in this hobby and the one everybody makes exactly once.
But here is the thing about a breadboard. Nothing you build on one ever leaves the bench. You prove a circuit, you look at it, you take it apart and put the parts back in the drawer. After four months I had a solid stock of components and not a single thing that did anything on its own.
So in February 2025 I bought the ELEGOO UNO R3 Smart Robot Car Kit V4 with the camera. It was the first kit I had built since retiring that moved.
And that is where I want to slow down, because the usual do-it-yourself robot project starts with a chassis, a box of loose parts and a schematic, and if you are built like me you can lose an entire evening inside that schematic before a single wheel turns. The diagram is comfortable. It is the part I am good at. The code is where the learning actually lives, and the diagram is the thing that keeps you away from it.
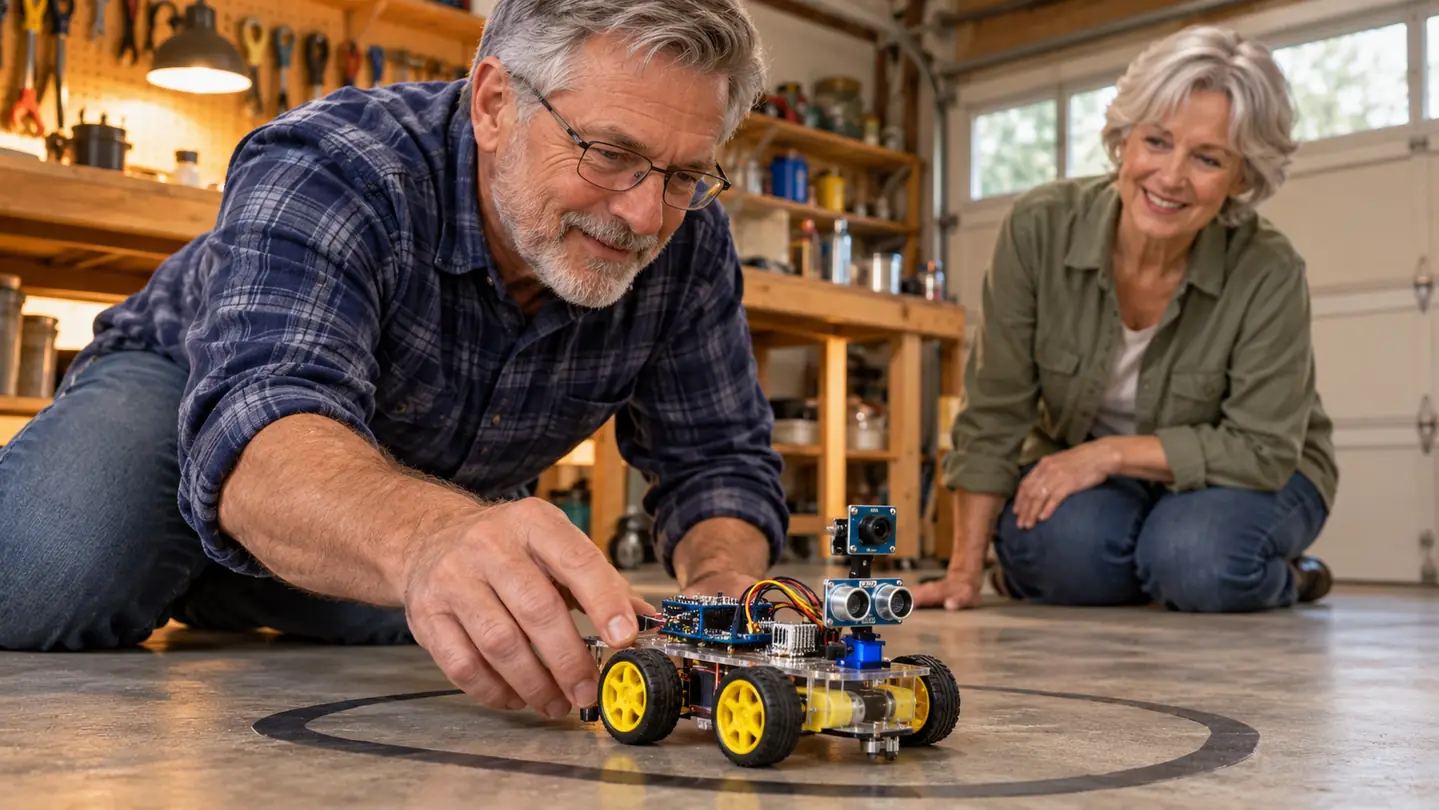
Two Saturdays and about six hours of assembly, and the car was already tracking a loop of black electrical tape across my garage floor.
Six hours of assembly, then you are the one writing the code
The ELEGOO Smart Robot Car Kit V4 arrives with the chassis, the UNO board, the camera, the motor driver and an illustrated tutorial. Mine was rolling on the concrete by the second Saturday.
Amazon Check Today's Price on Amazon →The build took two Saturdays, roughly six hours total, and I am not a fast assembler. Acrylic and plastic panels, the board, motors, a camera, and a printed tutorial where the photos are genuinely in focus. The cable ends are keyed XH2.54 connectors, which means a plug only seats in the port it was made for. That detail matters more than it sounds, because reversed cables are how most beginner builds die.
I still got one wrong. On the first Saturday I had a sensor cable in the wrong port and the car sat there like a brick with a battery. I went back to the diagram, found it, moved it, and lost about ten minutes. No part was damaged, nothing smoked. That is the entire list of things that went wrong on this build, and for a kit with this many connectors I will take it.
Once it was together, the car followed a black line, it avoided obstacles, and I could watch the live camera feed and drive it from the ELEGOO app on my phone or with the IR remote that comes in the box. I laid a loop of black electrical tape on the concrete and let it run until the battery told me to stop.
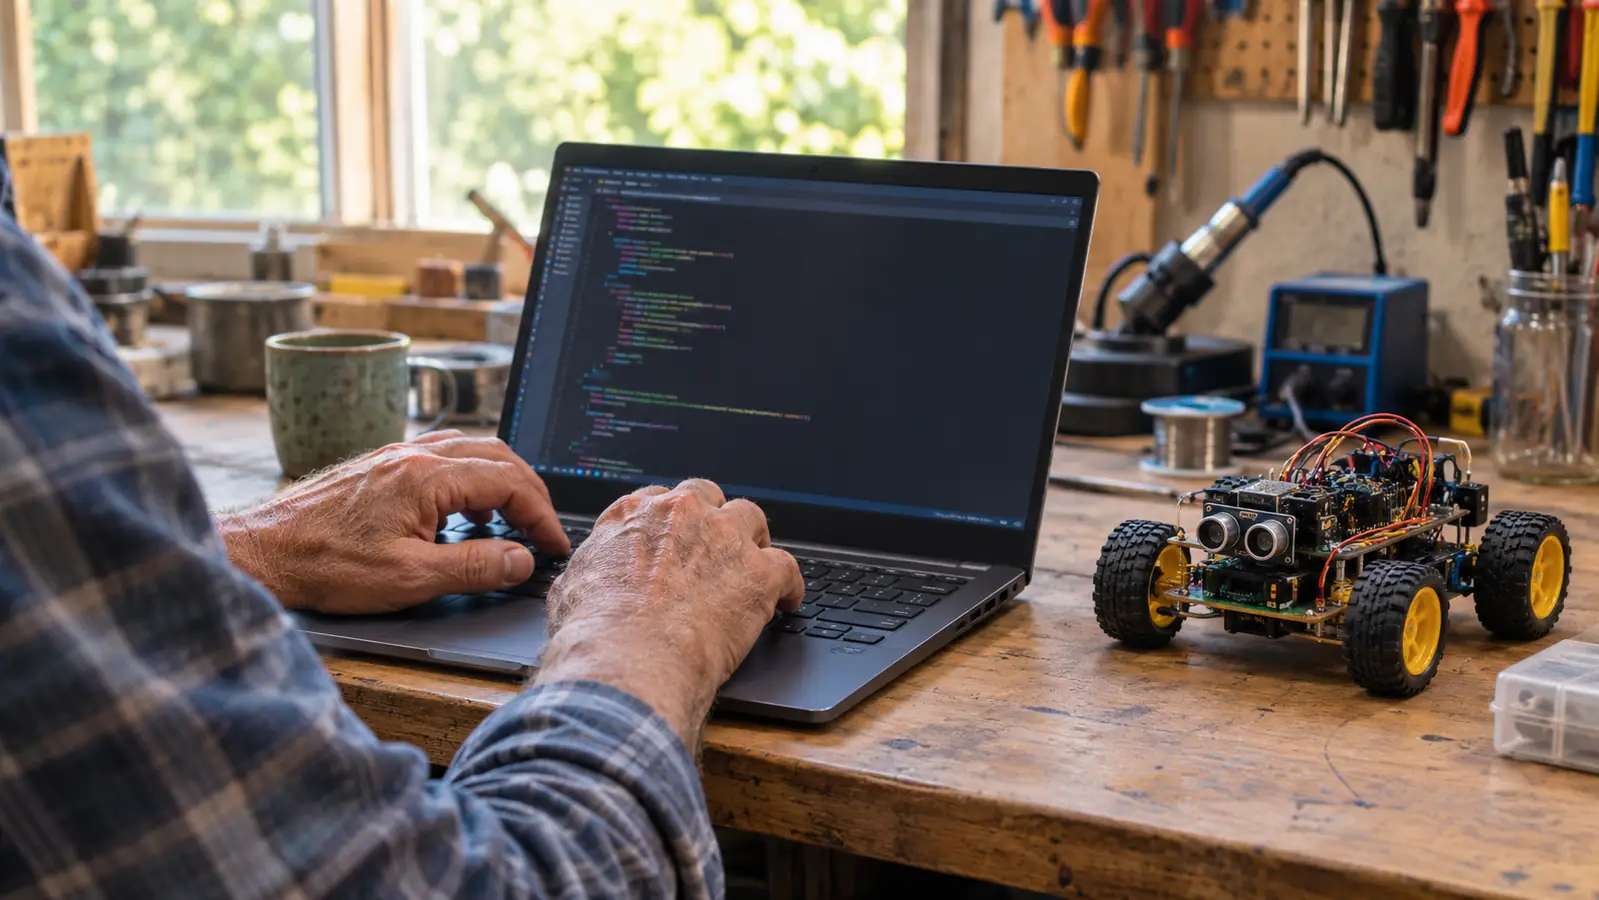
But the part that mattered to me came afterward, on the laptop. The kit ships with example programs that open right up in the Arduino IDE. You can read one, change a number, upload it, and watch what the car does differently on the floor. Change a value, observe a result, change it again. That loop is the thing a breadboard can never give you, and it is the reason this car has stayed within reach for a year and nine months instead of going on a shelf.
It is a kit, not an appliance. The listing puts it at 12 years and up with a half year warranty, and that matches what it is: a learning project with real parts you handle and real connectors you seat yourself. If you want something you switch on and drive, this is more work than that. Carol asked me what it does. I told her it follows a line and steers around the recycling bin. She said the vacuum does that too, and went back to her book, and she is not wrong, but the vacuum does not care why it turned.
What I'd Tell You If We Were Sitting at My Kitchen Table
I would tell you that the six hours of assembly is not the point and it is not the hard part. The hard part is the evening after the build, when the car works and you have to decide whether you are going to open the example code and change something or whether you are going to put it on a shelf and call it done. The people who get something out of this kit are the ones who open the code.
I would also tell you to start where you actually are. If you have never touched a microcontroller, work through the starter kit lessons first, because the robot car assumes you can read a simple circuit and find the right pin without help. If you already have a parts drawer and a bench, skip ahead to the car, because it will teach you the part the drawer cannot, which is control logic and sensor behavior and why a turn threshold set too low makes the car wobble down the line like it has had a long day. And if you are shopping around, be honest about what a pile of loose chassis parts asks of you before you buy one.
The kit that got me off the diagram and onto the laptop
If you have been circling the same schematic for weeks, this is the shortcut I wish I had taken sooner. Two Saturdays to build, then a year of evenings changing the code and watching what the car does.
Amazon Check Today's Price on Amazon →