
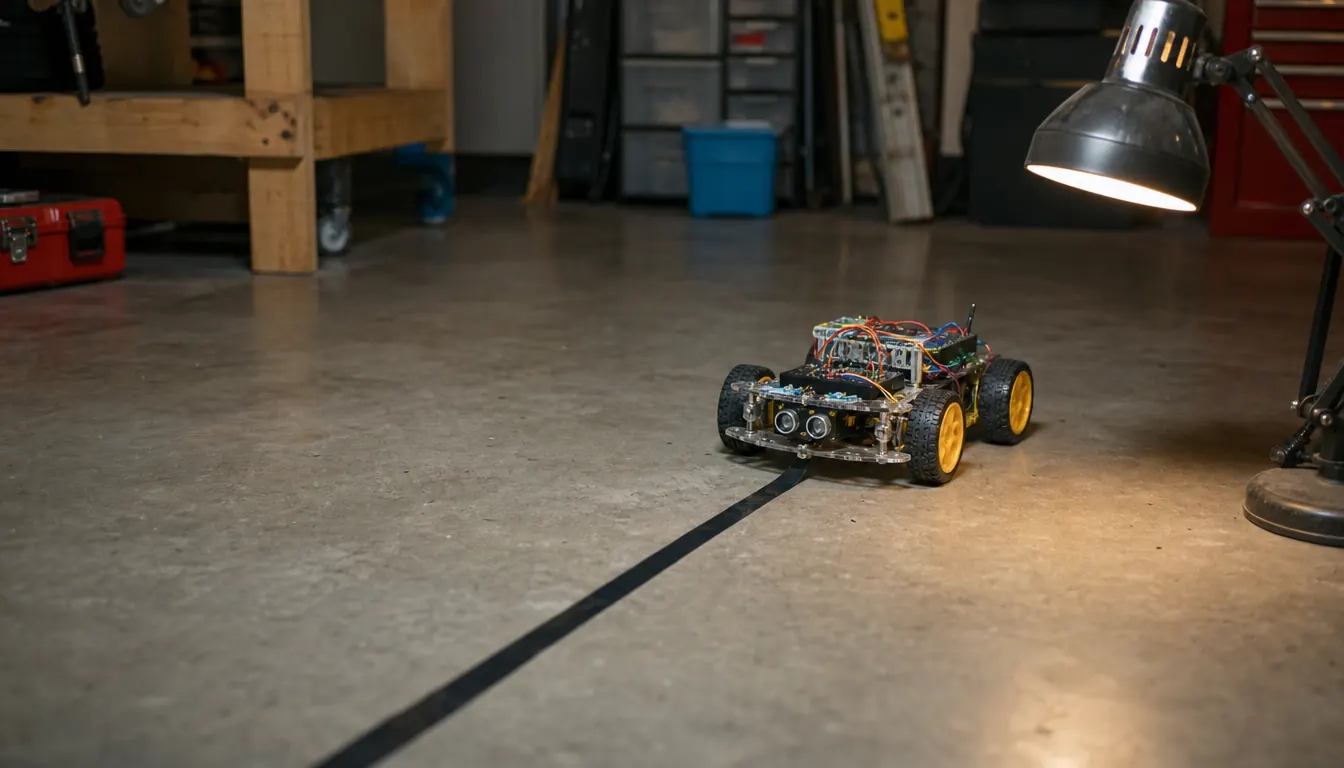
Most reviews of a robot car kit get written in the first hour of ownership, which is the worst possible moment to write one. In that hour the thing is either working and you are delighted, or it is not working and you are furious, and neither mood tells a stranger anything about month nine. I bought the ELEGOO Smart Robot Car Kit V4 in February 2025. It has sat on the shelf above my bench for about a year and nine months now, the novelty has worn off, and that is when the useful answer finally shows up.
Here is the honest shape of it. This is a good teaching tool with a fairly narrow job, and a lot of what makes it good does not appear anywhere on the listing page. The parts that are well thought out are the ones you will not notice until you have assembled something worse. The parts that are thin are also not on the listing, and those are most of what this review is about.
The Quick Verdict
A sturdy, well-guided first robot that teaches assembly and wiring better than it teaches programming. The camera is a window rather than a tool, and the example code runs out before a curious builder does.
Amazon Check Today's Price →The plugs only fit one way, which removes the most common beginner failure before it happens.
Keyed XH2.54 connectors and an illustrated sequence carry most of the hand-holding here. Budget two sittings and about six hours of careful work.
Amazon Check Today's Price on Amazon →How I've Used It
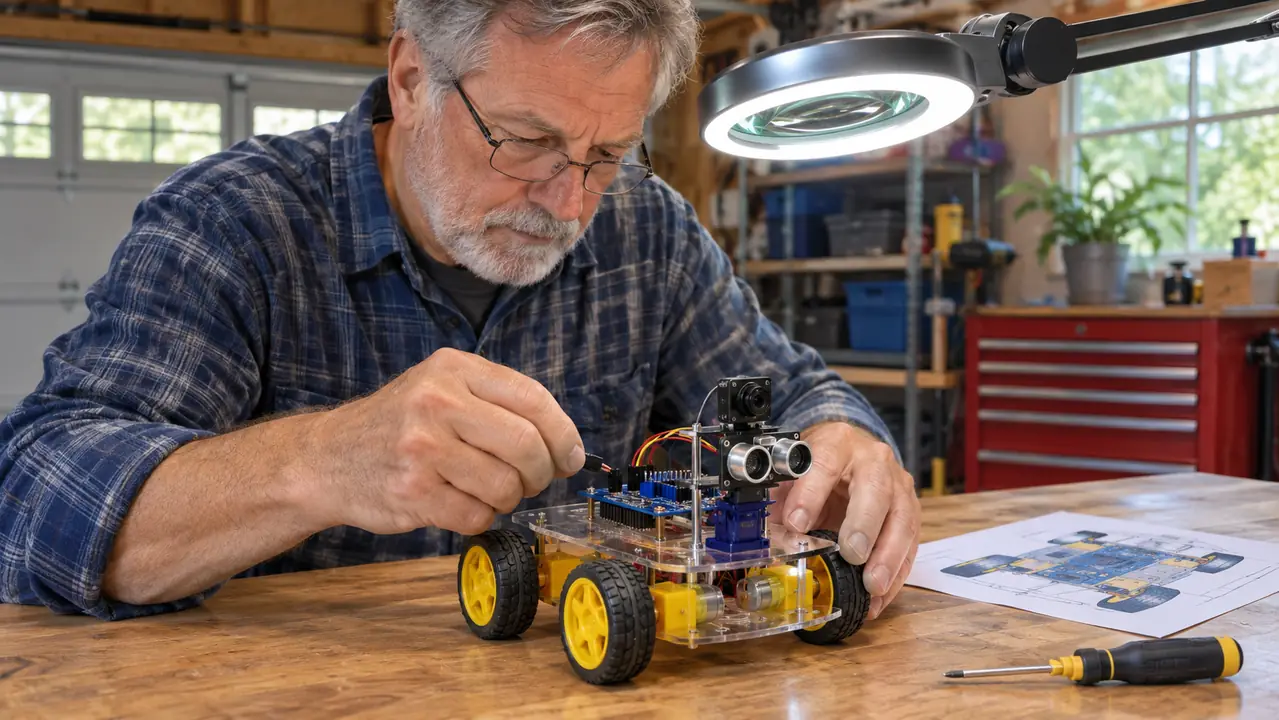
I bought the kit in February 2025 with no particular plan for it. My working life was thirty-four years of aircraft avionics, so I can read a schematic and I am comfortable at a bench, and neither of those things turned out to matter much here. It went together over two Saturdays, about six hours total including the time I spent reading ahead before touching anything. That number is worth repeating because the listing does not give one: six hours, for an adult who reads instructions, split across two sittings. Nobody builds this in a single evening.
The first Saturday was assembly and the second was getting it to do something. That split is not how the guide is organized, but it is how the work actually fell out for me. I made one real mistake in the build. I put a sensor cable into the wrong port, and the car sat there doing nothing while I checked the obvious things and then, finally, the diagram. Ten minutes, and nothing was damaged. I mention it because that is the mistake most people make, and the fix is to look at the picture instead of the wire.
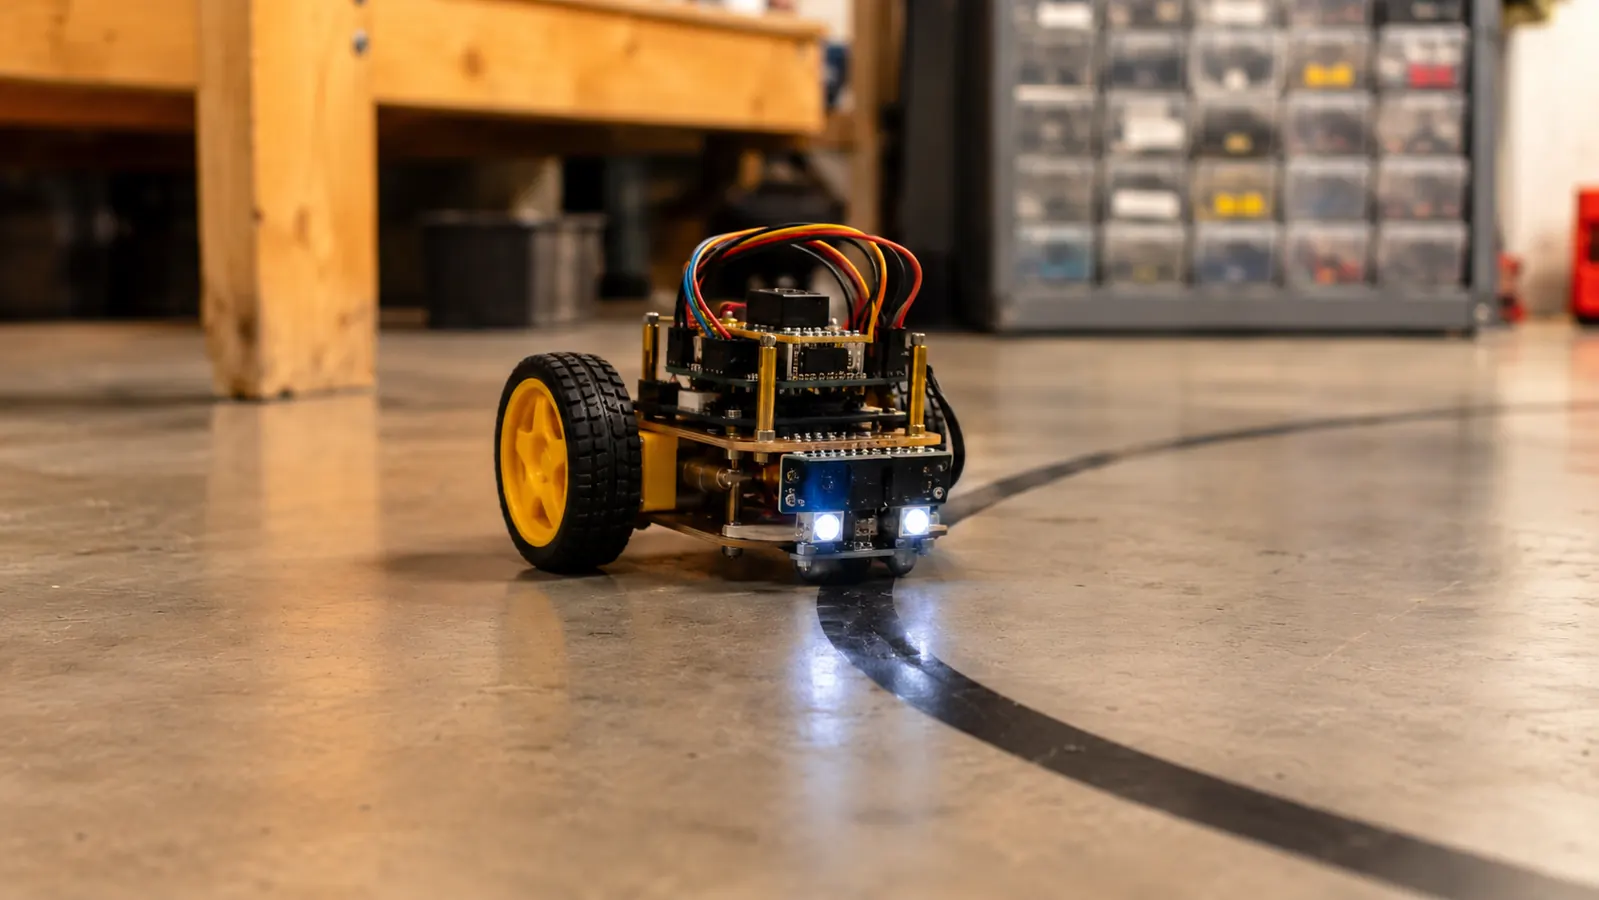
Since then it has run on the garage floor, which is smooth concrete, and it follows a loop of black electrical tape I laid down myself. I drive it from the ELEGOO app when I want the camera view and from the IR remote when I just want it across the floor, and I reprogram it from the Windows laptop on the bench. A year and nine months in, it lives on the shelf above the workbench rather than in a box in the closet. That is the most honest durability measure I can offer.
What the Build Actually Teaches
There are two skills in this box and they are not weighted equally. The first is mechanical: you read an illustrated sequence, find the right screw, and learn that a plate only goes on one way round. The second is electrical: which cable goes to which port, and why the connector is shaped the way it is. Both are real skills. Neither is programming, and the listing leans harder on programming than the first two Saturdays can justify.
The programming arrives later, through the Arduino IDE on a laptop, and that is where the kit is at once most honest and most limited. The example programs are there, they are commented, and they do what they claim. You open one, read it, change a number, upload, and the car behaves differently. That loop, from reading code to watching a physical object obey it, is worth more than any tutorial video I have seen. But the examples stop where the guided path stops, and the next step is a blank sketch and a search engine.
What that means in practice is that the kit teaches you to read and modify code. It does not teach you to write it from nothing, and those are different skills. If you finish the examples understanding what a variable does, that is a real gain. If you finish them believing you could write a program from scratch, you are overestimating what happened.
Six hours over two Saturdays, one cable in the wrong port, and no part damaged. That is what a careful first build actually looks like.
The Keyed Connectors Are the Quiet Win
XH2.54 connectors are keyed, which means the plug body has a shape, the socket has a matching shape, and they join one way only. That sounds minor. It is the best single decision in the kit. Anyone who has assembled electronics on bare pin headers knows the alternative: a row of identical cables, every one reversible, and a circuit that either works or quietly misbehaves because two of them are swapped.
I still put a cable in the wrong port on the first Saturday. Keyed plugs stop you inserting a plug backwards. They do not stop you inserting it the right way round into the wrong hole, which is a separate mistake and the one I made. The car did not respond, I checked the obvious things, and then I sat down with the diagram and found it in about ten minutes. No damage. If a beginner is going to make one error, this is the error to make: silent, harmless, and cured by reading.
So the connectors deserve credit without worship. They remove the failure that kills a first build, which is reversed polarity on a header. They do not remove the failure that stalls a first build, which is not consulting the diagram. The illustrated tutorial is the other half of that, and it is good enough that a careful person can follow it alone. Not a careless person. A careful one.
The Camera Does One Job
There is an onboard camera, and you can watch live FPV video from it in the ELEGOO app while you drive. That is the whole feature, and it is worth being clear about what it is not. It does not record, the resolution is modest, and it is not something you will use to inspect anything at a distance. It is a low forward view from a moving toy, and the point is that you are now steering from the car's position instead of your own.
For a first robot, that shift is the interesting part. You drive toward the hallway and you cannot see the hallway, you see what the car sees, and you have to steer on that. It is a cheap small version of a problem that appears in every machine that moves without a person aboard. It is also the sort of thing that makes a kid ask how the picture gets from the car to the phone, which is a better question than any worksheet.
The limits are delay and field of view. There is a lag between the car moving and the image catching up, small but enough that you cannot drive quickly and watch the screen at the same time. The view is also narrow, so you will clip things at the edge of the frame. Neither is a defect at this level. Both are things a buyer should know before expecting a smooth FPV experience.
The App and the Remote Do Different Jobs
The app and the IR remote are not two versions of the same thing, and I use both, which I did not expect. The remote is the fast option: pick it up, point it at the car, and the car moves. It is line of sight, so the car has to be in front of you and the handset has to be aimed at it, and that is the entire interface. When I want the car moved from one end of the garage to the other so I can sweep the floor, the remote is what I reach for. Two seconds, no screen.
The app is the slower, richer option, because the camera feed lives there. Driving from the phone means watching a small screen and steering at the same time, which is its own skill. I use the app when the point of the session is the camera, and I use the remote when the point is moving the car. Anyone who assumes the app will be the main way they drive it will find it more fiddly than the handset.
One caution on the app: it is a phone app, and a phone is a distraction machine. A kid driving a robot from a phone will get a notification, and the robot will hit the bench leg. That is not a defect in the kit. It is worth knowing before you hand over a phone and expect a focused half hour out of it.
Where the Kit Gets Thin
The tutorials end. That is my main complaint and the first thing I would tell a friend. The illustrated guide and the example programs cover assembly, the app, the remote, following a black line, and stopping short of an obstacle. Then they stop. A builder who wants more is now working from forum posts written by strangers with different hardware revisions, and that gap is where most kits end up on a shelf.
The second thin spot is depth of documentation. The example code is commented, but the comments tell you what a line does, not why it was written that way. That is normal for a kit at this level, and it is still the difference between a person who can modify a program and a person who understands it. I learned my trade from maintenance manuals that gave the reasoning, and I notice the absence.
The third is that the printed material assumes a reader who can tolerate being confused for a while. The steps are illustrated and ordered, but nothing tells you what to do when the car will not move and everything looks correct. You get there by checking the diagram, then the connections, then the code, in that order. A single troubleshooting page would have saved me ten minutes and would save plenty of people several evenings.
What I Liked
- Keyed XH2.54 connectors remove the most common beginner wiring failure before it starts
- The illustrated tutorial is ordered well enough for a careful beginner to follow alone
- Six hours of assembly across two sittings, with no step that requires prior electronics experience
- Still running on the garage floor after a year and nine months with no part replaced
- The camera view changes how you drive and prompts better questions than a worksheet
Where It Falls Short
- The example programs stop before a curious builder is ready to stop
- Code comments explain what a line does, not why it was written that way
- No troubleshooting section for the car that simply does not move
- Camera lag and a narrow field of view mean fast driving and screen watching do not mix
- The build is a genuine six hours of careful work, not one evening
What Nobody Tells You Before You Buy
The first thing is that the build is the curriculum. People buy this expecting to program a robot, and programming is maybe a third of what actually happens. The rest is reading a sequence, seating a connector properly, and developing the patience to check your own work before blaming the part. If that sounds like a wasted afternoon, this is the wrong purchase. If it sounds like the skill you are after, this kit delivers it.
The second is that the car is a platform, not a project. Once it runs, it is a chassis with a board on it and a camera, and the useful question becomes what else can be attached and what else can be told to it. That is what keeps a kit on a shelf instead of in a closet. A toy gets played with until it stops being interesting. A platform gets modified, and modification is the part that lasts.
The third is that this is a kit for someone who will sit with it. Not necessarily an adult, but a person who will go back to the diagram when the car does not move instead of shaking it. The difference between finishing a build and abandoning one is almost never talent. It is whether the builder reopens the instructions.
The fourth is the paperwork detail nobody reads. The listing carries a half year manufacturer warranty. In a year and nine months I have not needed it, and I would rather give you the number than leave it out so you find it yourself later.
Who This Is For
Buy it for someone who wants to know how a machine goes together and is willing to spend two Saturdays finding out. Buy it for a teenager who already takes things apart and sometimes gets them back together. Buy it for an adult who has never touched a microcontroller and would like to, and who would rather learn from a printed sequence than a video. My own start in hobby electronics came after I retired, with an UNO starter kit, and the line from there to this car was short and straight.
It is also a reasonable buy for a parent who intends to build it with the kid rather than hand it over. The listing says twelve and up, and I would read that as the age where a kid can follow illustrated steps with an adult nearby, not the age where they can be left with a bag of hardware and a laptop.
Who Should Skip It
Skip it if you want a robot that works out of the box. There is no such thing here. The car does nothing until you build it, and the build is the product.
Skip it if you already write code and want a platform to program, because the tutorial sequence will feel slow and the example programs will feel short, and you would be better served by a bare board and a chassis you pick yourself. Skip it too if nobody in the house will read a diagram. This kit forgives one swapped cable. It does not forgive an owner who will not open the page.
And skip it if the camera is your main reason. The camera is a good window on what the car sees. It is not a camera you will use for anything else.
A first robot is a two-Saturday purchase, not an evening one.
If you are ready to spend the time, this is a well-guided way to spend it: keyed connectors, an illustrated sequence, and a car still running a year and nine months on.
Amazon Check Today's Price on Amazon →